
Last updated October 30, 2026
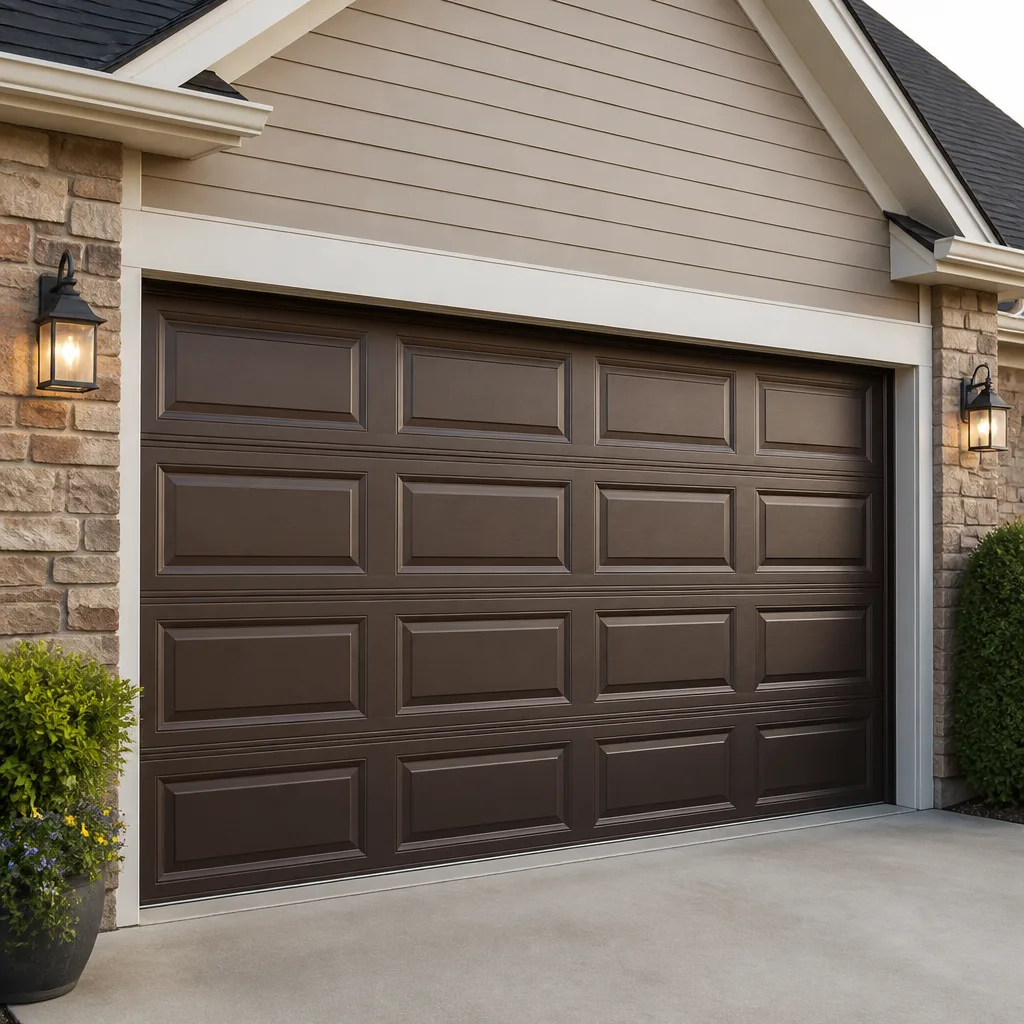 Raised-panel steel
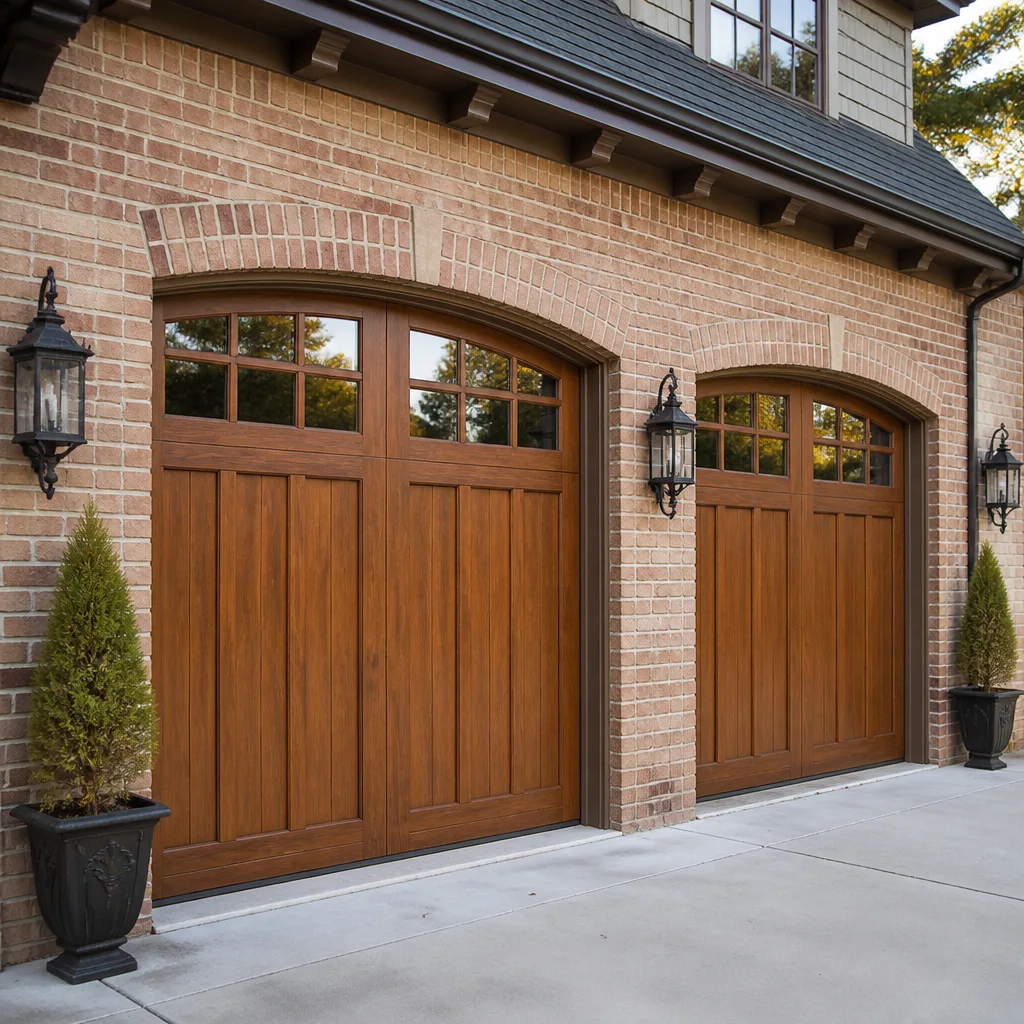 Carriage house
 Modern flush
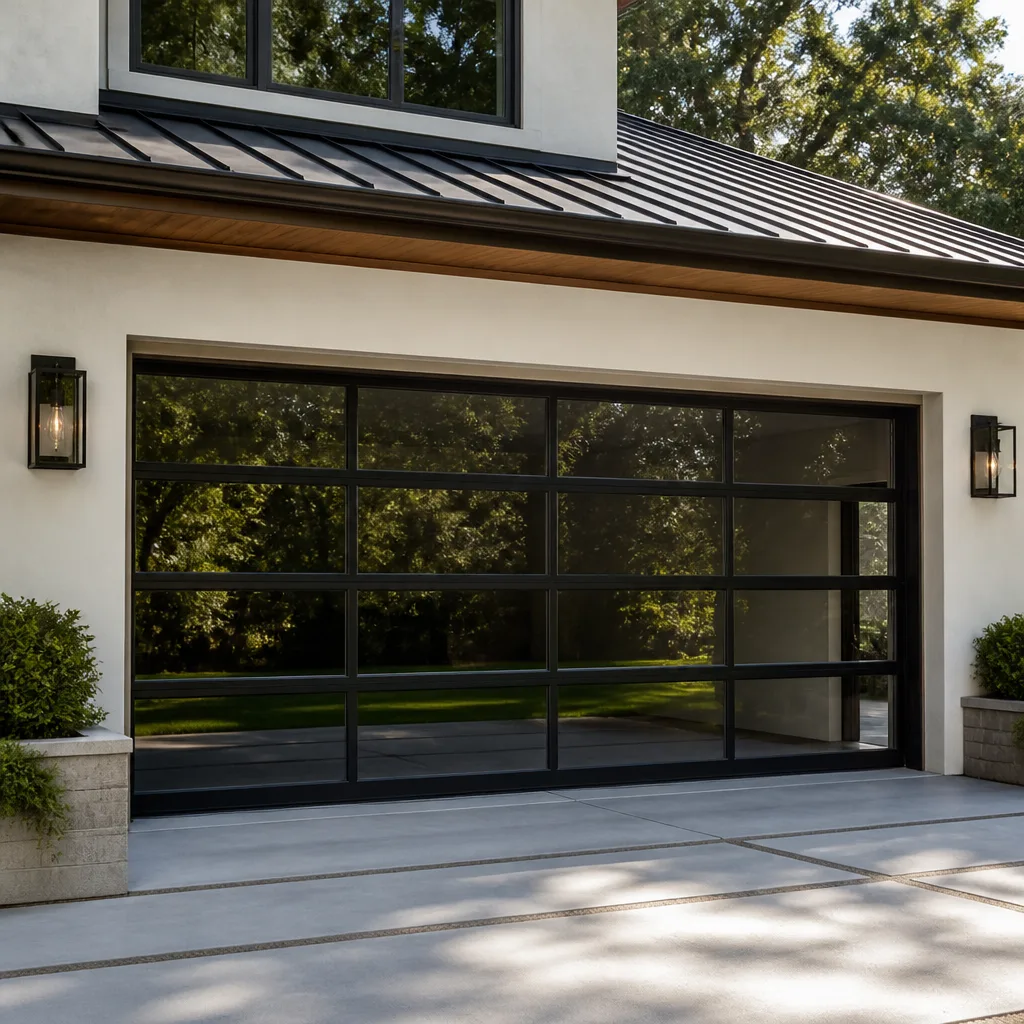 Full-view glass
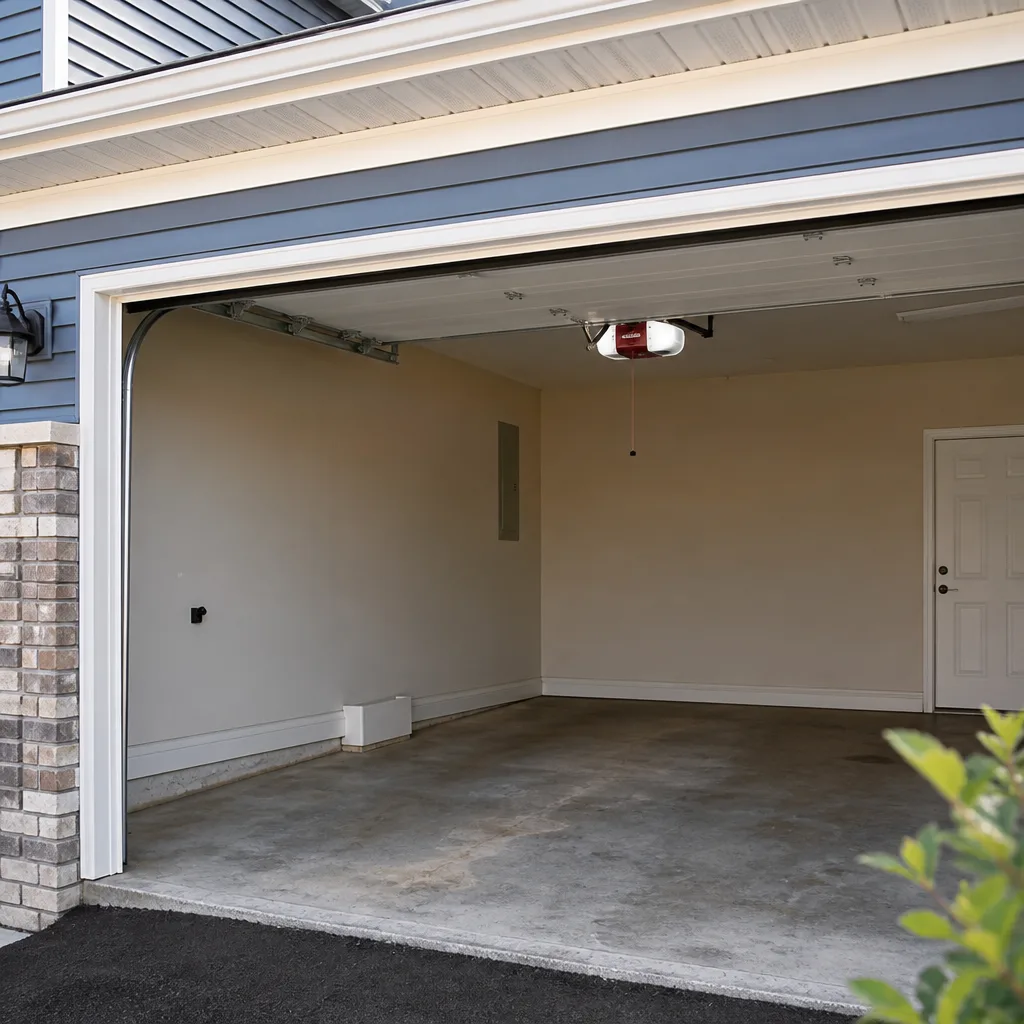 LiftMaster openers
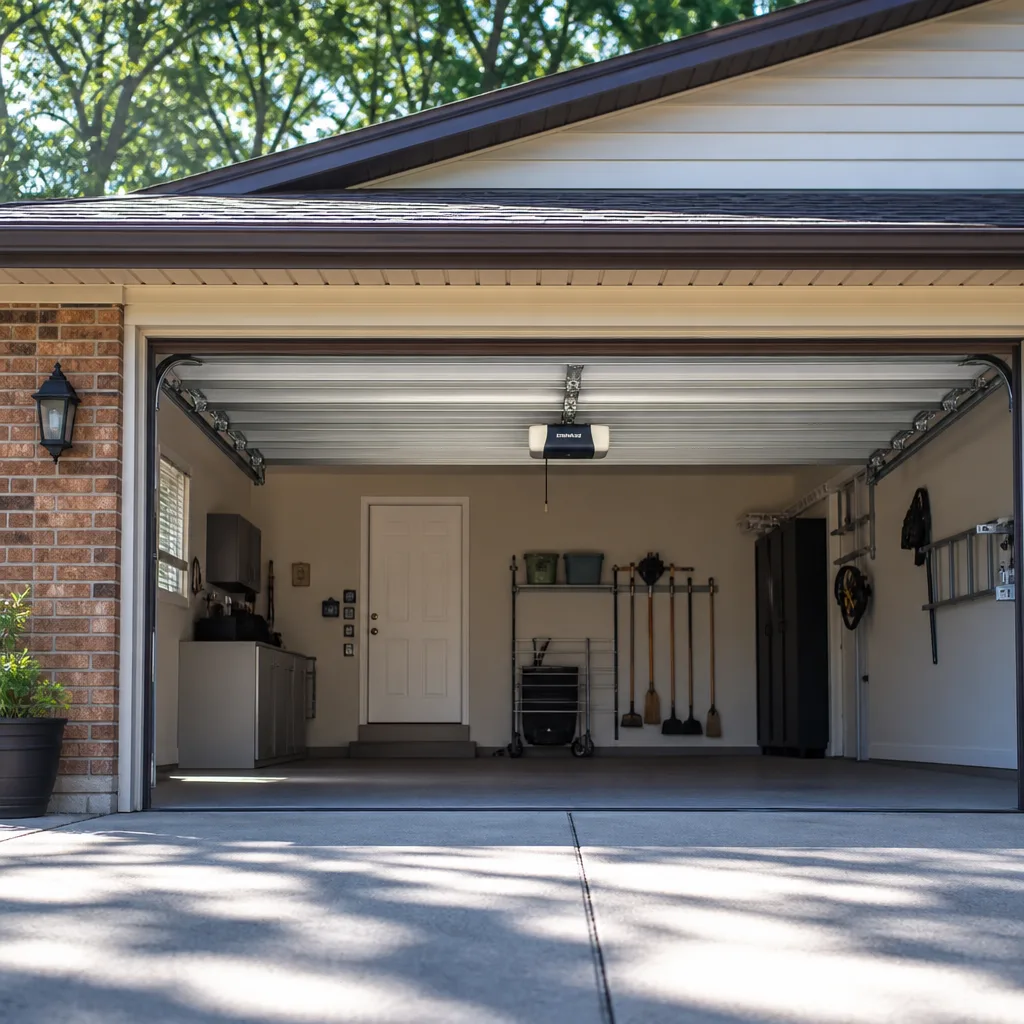 Chamberlain openers
Full 25-point door and opener safety check with every visit - springs, cables, rollers, tracks, and your LiftMaster or Chamberlain opener included
You get a price before we start. It does not change when the truck arrives.
Get your free estimateGarage Door Repair Troubleshooting: Common Problems and How to Fix Them
Most garage door troubleshooting guides fail in the first five minutes. They tell you to check the batteries and look for obstructions, then leave you staring at a door that still won’t move. That’s because garage door failures don’t announce themselves with a single symptom. They announce themselves with a combination: a grinding noise that only happens when the door reaches the halfway point. A door that reverses before touching the ground. An opener that hums for two seconds and goes silent. This guide works the way a technician actually works in Chula Vista: by listening to the symptom, isolating the component, and fixing the root cause, not the surface annoyance. By the end, you’ll know what’s wrong, what to attempt safely, and exactly what to tell a technician so the right parts arrive on the first trip.
Styles & brands we work with
Quick Answer
Our Garage Door Repair services start with troubleshooting that means matching your door’s specific symptom, sound, or failure pattern to the component that’s actually broken, rather than guessing. The most common issues include broken torsion springs, misaligned photo-eye sensors, worn trolley carriages, and mis-calibrated travel limits. For anything involving spring tension or cable replacement, call a professional: those components hold enough stored energy to cause serious injury. Hallmark Garage Door Repair offers free estimates in Chula Vista at (833) 467-4256.
Table of Contents
- Match the Sound to the Broken Part: A Symptom-to-Component Matrix
- Why Your Garage Door Reverses Before or After Touching the Ground
- Garage Door Opener Problems: Error Codes, Logic Boards, and Travel Limits
- Broken Springs: How to Identify One and What to Do Immediately
- Photo-Eye Sensor Alignment and Wiring: The 10-Minute Fix
- Track and Roller Problems: When the Door Jerks, Binds, or Comes Off Track
- How to Operate Your Door Manually in an Emergency
- Common Mistakes to Avoid
- When to Call a Professional
- Frequently Asked Questions
- The Bottom Line
Match the Sound to the Broken Part: A Symptom-to-Component Matrix
A garage door talks to you before it fails. In our years working on doors throughout Chula Vista, we’ve learned that homeowners often describe the same problem in completely different ways, but the underlying mechanical fault is consistent. For Garage Door Warning Signs: A Chula Vista Homeowner’s Reference Guide, see our dedicated breakdown. Here’s the diagnostic matrix that covers about 85 percent of what we see on service calls.
Grinding Noise
A grinding sound that increases in volume as the door moves indicates metal-on-metal friction in the trolley carriage. On chain-drive openers from LiftMaster and Craftsman, the carriage rollers wear down over time and the chain rides jagged against the rail. The fix is usually a carriage replacement, sometimes with a new chain assembly. If you hear grinding only on the curved section of the track, check the rollers first.
Squealing or High-Pitched Whine
Squealing points to worn rollers, dry bearings, or a belt-drive opener with a slipping tensioner. On Wayne Dalton doors with nylon rollers, the roller bearings eventually seize and the roller skids instead of rolls. Lubricating the roller bearings with a silicone-based lubricant often resolves the noise. But if a roller is seized solid, lubrication won’t bring it back. You’ll need a replacement roller set, which is a quick job we handle regularly.
Popping or Snapping Sound
A loud pop or snap from above the door almost always means a torsion spring has broken. Springs break under tension, and when they do, they release energy in a single, sharp sound that many homeowners mistake for a gunshot or a car backfiring. This is not a lubrication issue. This is a component failure that requires immediate spring replacement, and it’s one of the repairs that should never be attempted by a homeowner.
Rattling Only at Certain Points in the Cycle
If the rattle happens at the same spot every time the door moves, you likely have loose track bolts or hinge screws. On Raynor and Clopay doors with steel tracks, the vertical track bolts can back out over time, especially on homes near the coast where temperature swings are frequent. Tightening the bolts and checking hinge fasteners usually eliminates the rattle.
Humming But No Movement
A motor that hums for two seconds then stops means the opener is receiving power but cannot move the door. On Chain-drive LiftMaster and Chamberlain units, this is often a stripped gear inside the opener housing. On screw-drive Genie models, the screw and carriage can seize if lubrication has been neglected. The opener may still be repairable, but the fix is internal, not external. Our opener repair team in Chula Vista diagnoses this in minutes.
Key Takeaway: The sound is the clue. Grinding means the carriage or rollers. Popping means the spring. Humming means the opener motor or drive gear. If you describe the sound accurately when you call, a technician can come prepared with the correct parts instead of making a second trip.
Why Your Garage Door Reverses Before or After Touching the Ground
This is the problem that separates real diagnosis from guesswork. A door that reverses before touching the ground and a door that touches the ground then immediately reverses share one symptom, but they have completely different causes. If you’re in Chula Vista, where garage doors cycle more frequently during the summer months, these failures tend to appear in clusters.
The Door Reverses Before It Reaches the Ground
When your door starts closing, travels partway down, and then returns to the open position without ever touching anything, you’re dealing with one of three things: misaligned photo-eye sensors, an obstruction signal from the safety system, or a travel limit that’s set too sensitive.
The photo-eye sensors sit on each side of the door opening, about six inches off the ground. They transmit an invisible beam between them. If the beam is broken, even for a fraction of a second, the opener interprets that as an object in the door’s path and reverses. This is a safety feature, not a fault. The question is whether the sensors themselves are working correctly.
Here’s a fast diagnostic sequence:
- Check the sensor lights. Most units from LiftMaster and Chamberlain have small LED indicators. A solid green light on one sensor and a solid amber or green light on the other means alignment is correct. A flickering or off light means misalignment or a wiring problem.
- Wipe the sensor lenses with a dry cloth. Coastal dust and road grime in Chula Vista accumulate on these lenses faster than homeowners expect.
- Check for physical movement. Sensors mount on brackets that can get bumped by a trash can, a bicycle, or a kid’s scooter. Even a quarter-inch shift breaks the beam.
- Verify the travel limit settings. If the opener’s down-limit is set too far past the actual floor position, the door attempts to close beyond its physical travel and the opener reverses as a safety response.
The Door Reverses Immediately After Touching the Ground
This is a completely different problem. When a door closes fully, touches the concrete, and then instantly reverses, the issue is almost never the sensors. The door is compressing against the ground, and the opener’s internal force-sensing circuit detects the spike in resistance and interprets it as an obstruction.
The root cause is usually a mis-calibrated down-limit or a force adjustment set too low. On newer LiftMaster and Chamberlain smart openers, the limit settings are programmed electronically. On older units with mechanical limit switches, the problem is typically a worn or mispositioned limit cam.
To diagnose this yourself:
- Disconnect the opener from the door using the manual release cord.
- Operate the door by hand. Does it close easily and stay down? If yes, the door tracks are fine and the issue is in the opener’s limit programming.
- If the door’s weight feels unbalanced, or it rises or falls on its own, the springs need adjustment or replacement. An unbalanced door constantly fights the opener, tripping the force sensor.
In our experience, this exact failure accounts for a large share of opener service calls in Chula Vista. Homeowners sometimes replace the entire opener when a fifteen-minute limit recalibration would solve it. That’s why we diagnose before we recommend any purchase.
Garage Door Opener Problems: Error Codes, Logic Boards, and Travel Limits
Modern garage door openers are smarter than most people realize. That intelligence is useful for a technician and frustrating for a homeowner who just wants the door to move. Here’s how to read what your opener is trying to tell you.
LiftMaster and Chamberlain Error Codes
LiftMaster and Chamberlain are both manufactured by the Chamberlain Group, so their error code language is nearly identical. When the opener won’t operate, watch the LED on the back of the motor unit. It flashes in sequences. Count the flashes between pauses.
- 1 flash: The opener’s logic board has detected a wiring issue, usually at the wall control or safety sensor circuit. Start by checking the wall button wiring.
- 2 flashes: This indicates a door obstruction or a sensor misalignment. The safety reversing system is active.
- 4 flashes: The door is binding, or the force setting is too low. The opener is shutting down to protect the motor and the door.
- 5 flashes: The logic board is detecting a problem with the sensor wires, usually a short or a broken connection at the sensor itself.
- 6 flashes: The trolley is not moving, often because the travel limit logic is corrupted or the trolley is off the rail.
One thing to know: on LiftMaster models with a yellow or purple “Learn” button, the error codes are displayed on the wall control panel, not on the motor unit itself. The panel will show a number. Write that number down before you call anyone.
Genie Error Messages
Genie openers communicate differently. They use a combination of the wall console display and LED flashes. A common issue on Genie screw-drive models in Chula Vista is a code that translates roughly to “carriage travel exceeded” – which means the screw-drive carriage has moved beyond its programmed range. This often happens after a power outage, when the opener’s position memory is lost.
On Genie units with a blinking red light on the powerhead, the issue is typically the Safe-T-Beam sensors. Genie’s system uses a specific diagnostic: a slow blink means one sensor is blocked. A fast blink means a wiring fault between the sensors and the opener.
Logic Board Failure vs. Sensor Misalignment vs. Travel Limit Miscalibration
These three problems look the same to a homeowner. The door refuses to close. The opener flashes an error. Here’s how to tell them apart before you spend money on a repair that may not be the issue.
- Sensor misalignment: The door will open and close in short bursts, or it will reverse consistently at the same point in the travel. The opener’s force-based reversal is not the issue; the beam is being interrupted.
- Travel limit miscalibration: The door operates manually without resistance, but the opener stops the door at the wrong position, or reverses at the floor. The opener’s memory of where the door should stop is corrupted.
- Logic board failure: The opener behaves erratically with no consistent pattern. It may open randomly, ignore the wall button, or flash codes that don’t correspond to the actual door condition. The board is no longer interpreting signals correctly.
The cost difference matters. A sensor realignment or a limit recalibration is a quick service call. A logic board replacement is a component repair that approaches the cost of a new opener on older units. Our technicians carry diagnostic equipment that reads opener signals directly, so we can tell you which of the three you’re facing before we pick up a tool. If you’re dealing with a complex opener fault, our garage door opener repair in Chula Vista page outlines the full scope of what we handle.
Broken Springs: How to Identify One and What to Do Immediately
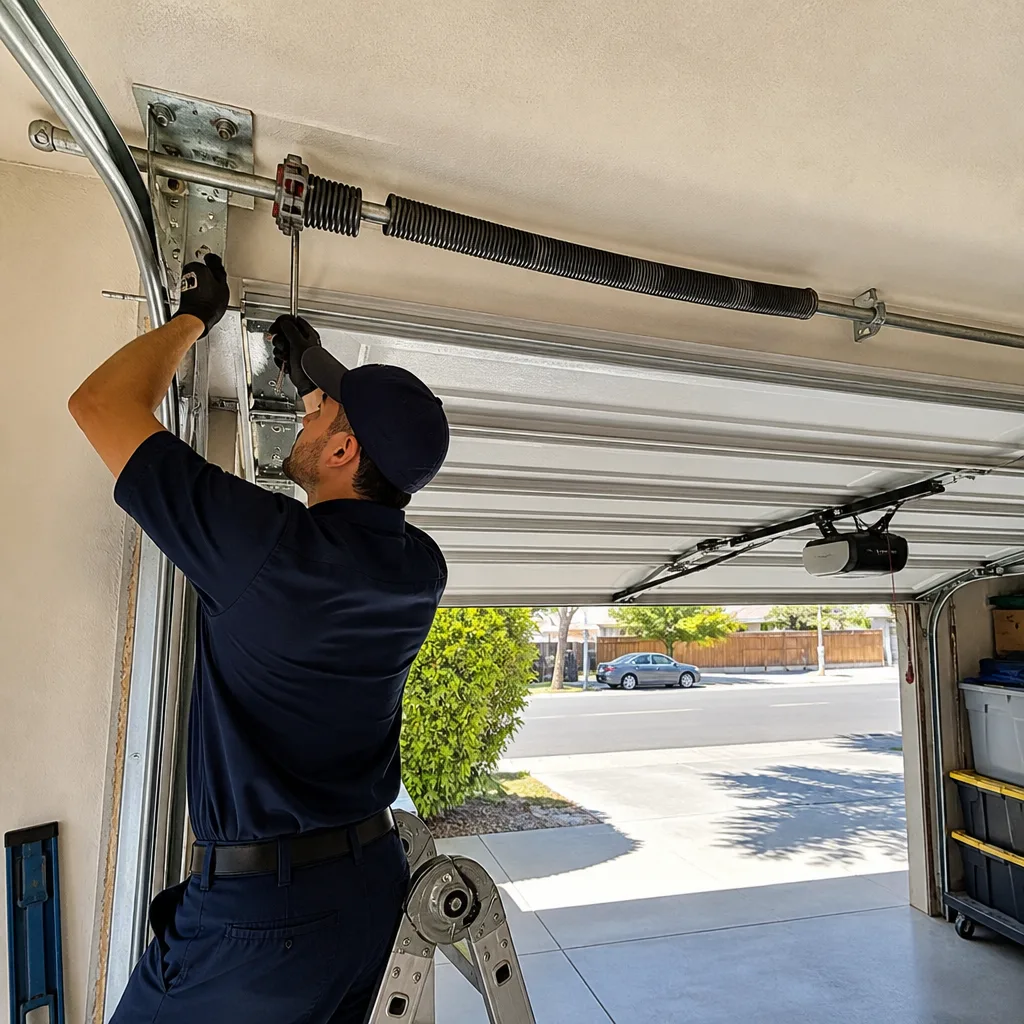
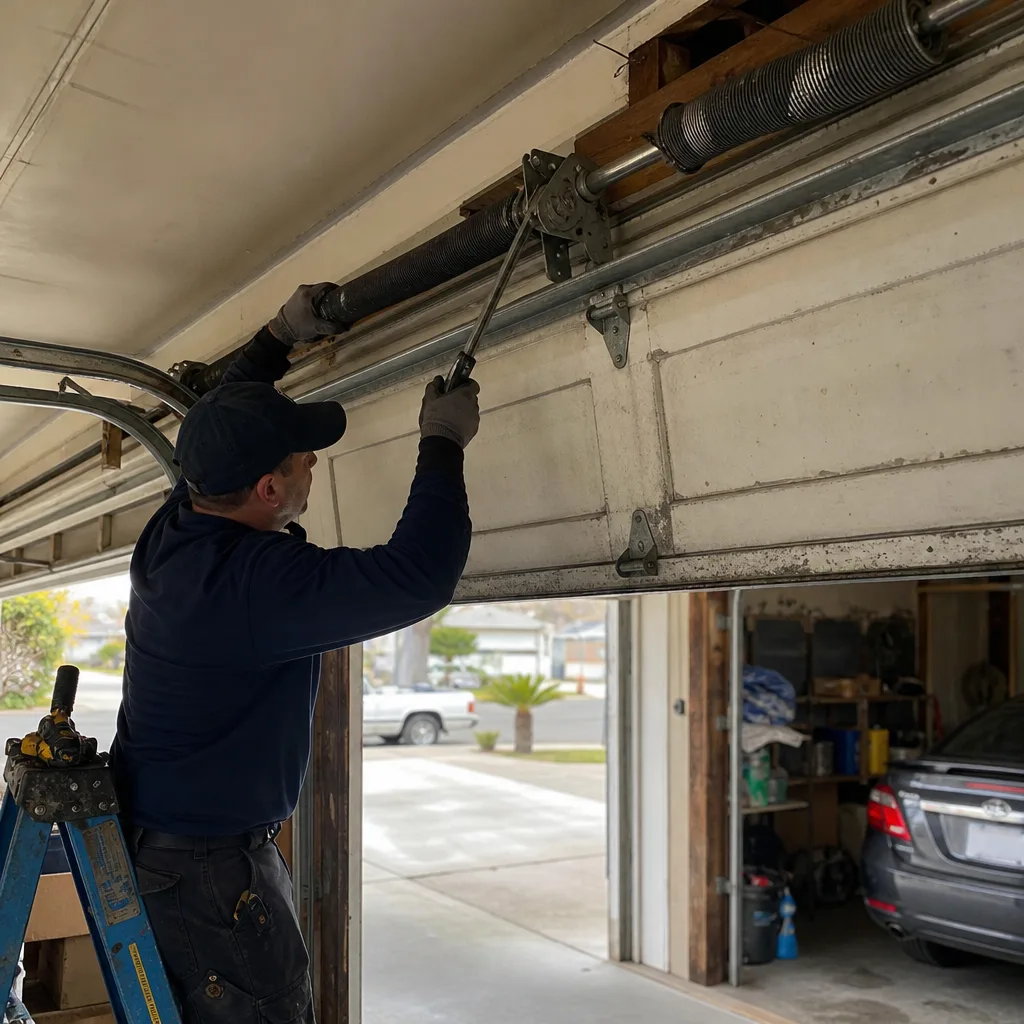
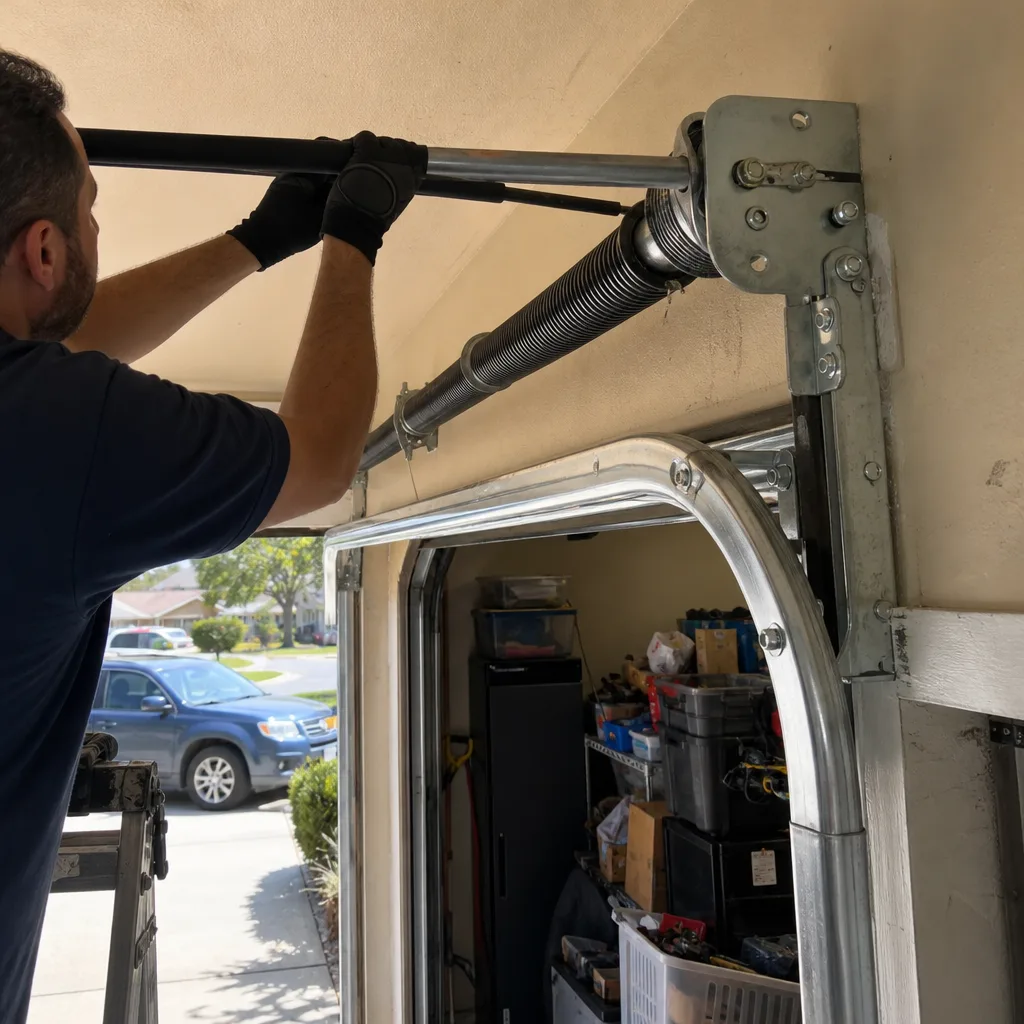
A broken garage door spring is the most dangerous residential repair in the garage door trade. Torsion springs, the kind mounted horizontally above the door opening, store hundreds of pounds of tension. When one breaks, it releases that energy instantly. When two break, the door becomes a dead weight that can trap a person or crush a vehicle.
How to Identify a Broken Spring
You can spot a broken torsion spring from the ground without touching anything. Two telltale signs stand out:
- A visible gap: A torsion spring sits above the door, against the header. When intact, it’s one continuous coil. When broken, you’ll see a clear separation, usually about two inches, in the middle or at one end of the spring. The two halves will no longer align.
- The door won’t lift more than a few inches: The opener may strain and stop, or the door may feel impossibly heavy when you pull the manual release. A door that weighs several hundred pounds without working springs is not movable by hand.
You may also hear the breaking spring. Many homeowners describe it as a loud bang that sounds like a firework or a dropped steel beam. The sound is distinctive and, once heard, rarely confused with anything else.
What to Do Immediately
- Do not attempt to open the door. If the opener is still connected, unplug it from the ceiling outlet. Do not use the wall button or a remote.
- Keep everyone away from the door. Do not walk under it, do not park under it, and do not try to manually lift it using the emergency release.
- Call a garage door professional. Spring replacement involves unwinding the old spring’s residual tension and winding a new spring to the correct number of quarter-turns for your door’s weight and height. This is not a repair that should be attempted with a socket wrench and a YouTube tutorial.
Spring failures in Chula Vista tend to follow a pattern. Homes closer to the coast experience more frequent spring fatigue due to salt air and higher humidity. Springs are rated for a certain number of cycles, usually 10,000, and a door that goes up and down four times a day will exhaust that rating in about seven years. Most modern torsion springs are powder-coated or galvanized for corrosion resistance, but no spring lasts forever.
One additional point: when one spring breaks, the other is not far behind. On doors with two torsion springs, we recommend replacing both simultaneously. The unbroken spring has completed the same number of cycles as the broken one. Replacing only the broken spring saves a little money today and costs more in labor when the second one fails within the year.
Photo-Eye Sensor Alignment and Wiring: The 10-Minute Fix
Photo-eye sensors are the single most misunderstood component on a garage door system. They are also the most common cause of a door that won’t close. The good news: many sensor problems are fixable in under ten minutes without tools.
Here’s the correct sequence, in order:
- Check the LED lights. On almost every residential opener, including LiftMaster, Chamberlain, Genie, and Craftsman models, the sensors have small indicator lights. A solid light on each sensor means they’re aligned and communicating. A blinking light or no light at all means a problem exists in that sensor.
- Clean the lenses. The lens is the small plastic circle on the front of each sensor. Dust, spider webs, and chalky coastal residue block the infrared beam. Wipe both lenses with a dry cloth. Do not use glass cleaner, which can leave a film.
- Straighten the mounting brackets. Sensors sit on L-shaped metal brackets that are only held in place by a wing nut. A bump from a garbage can, a rake handle, or a child’s toy can push the sensor out of alignment by an eighth of an inch. That’s enough to break the beam. Loosen the wing nut slightly, adjust the sensor until both LEDs are solid, then retighten.
- Inspect the wiring. Each sensor has two low-voltage wires running to it. These wires run along the door track and can get pinched or chewed. In Chula Vista, we see occasional rodent damage on sensor wires in garages that store pet food or bird seed. A damaged wire usually requires a short splice or a new wire run.
- Test the system. Close the garage door using the wall button. If the door still reverses, the issue is not the sensors. Move your attention to the travel limits or the opener’s force settings.
One note that saves people real money: if your sensors are old, you can usually replace them without replacing the opener. LiftMaster and Chamberlain sell replacement sensor kits that wire in directly. This is a straightforward repair that our team handles regularly. For more detail on how sensors interact with the rest of the system, see the garage door repair service in Chula Vista page.
Track and Roller Problems: When the Door Jerks, Binds, or Comes Off Track
A garage door that jerks, hesitates, or makes a metal-on-metal scraping sound during travel is usually fighting its own track. The track is the steel channel that guides the door’s rollers from the vertical position to the horizontal position above your car. When it’s bent, misaligned, or clogged with debris, the door’s movement reflects that immediately.
Symptoms of Track Problems
- The door moves smoothly for a few inches, then hesitates or stalls at the same point every cycle.
- The door scrapes the track as it moves, leaving visible metal shavings on the floor or the track surface.
- The door leans slightly to one side when open, or one side of the door sits lower than the other.
- You hear a popping sound as the rollers pass over a specific joint in the track.
The Most Common Track Failures in Chula Vista
Salt air and temperature swings near San Diego Bay accelerate two specific problems. First, the steel track bolts rust and loosen more quickly near the coast. A track that shifts even a sixteenth of an inch creates enough misalignment to bind the rollers. Second, the horizontal track section, the part that runs parallel to the ceiling, is the most likely section to get bent. That’s the section homeowners inadvertently hit when loading ladders, surfboards, or Christmas boxes into the overhead storage area.
Roller problems are also common. Rollers have a service life. Nylon rollers with sealed ball bearings typically last 7-10 years. Steel rollers without bearings wear faster and are louder. When a roller fails, the door may continue to move, but it does so with increased friction that puts extra strain on the opener motor and the springs.
Track and roller work is usually within the scope of a professional repair, not a DIY project. The track is under constant tension from the door’s weight and the spring system. Removing or adjusting a track without first releasing the spring tension is dangerous. If you notice the door binding or jerking, call a specialist before the roller pops out completely. A door that comes off its track is a heavier, more costly repair than a track adjustment.
How to Operate Your Door Manually in an Emergency
Every garage door has a manual release mechanism, usually a red cord hanging from the opener rail. Pulling that cord disconnects the door from the opener’s trolley, allowing you to lift or lower the door by hand. This is essential knowledge during a power outage or opener failure.
Here’s how to do it correctly:
- Make sure the door is fully closed. If the door is open and you pull the release, the door can come crashing down. Gravity is not gentle. If the door is stuck open because of an opener failure, call a professional before pulling the release.
- Pull the red cord. It should move freely with a firm tug. You’ll hear a click as the trolley disengages from the opener carriage.
- Lift the door by hand using the handles or the bottom edge. A properly balanced door weighs very little in your hands because the springs are doing the work. If the door feels heavy, stop. That means the springs are broken or severely out of adjustment, and lifting further can injure you.
- To re-engage the opener, pull the cord again while the door is in the closed or open position aligned with the trolley. Some openers re-engage automatically on the next cycle. Others require a manual pull and a click.
During Chula Vista’s occasional coastal storms and the rolling power outages that come with them, this is the procedure you’ll use most often. One note: if your door is equipped with a LiftMaster or Chamberlain opener that includes a battery backup, the opener will still function during an outage, but you’ll still want to know the manual release for situations where the opener logic has failed entirely.
Common Mistakes to Avoid
- Lubricating a broken spring to “fix” it. A broken torsion spring cannot be repaired with WD-40 or silicone spray. The spring has physically snapped. Lubricating it does nothing except make the remaining pieces slippery. Replace the spring.
- Forcing a door with a broken cable. When a lifting cable snaps, the door becomes uneven and may appear to close normally at first. Forcing it through its cycle with the opener strains the remaining cable and can pull the door off its track entirely. Stop using the door and call for repair.
- Adjusting spring tension yourself. This is the single most dangerous DIY project in the garage. Torsion springs hold enough tension to break bones, sever fingers, or worse. There is no safe way for a novice to adjust spring tension without the proper winding bars and training. Do not attempt it.
- Replacing the opener when the travel limit is miscalibrated. Many perfectly good openers get thrown away in Chula Vista every year because the down-limit was set too low or the force control was tripped. Diagnose the limit setting before you spend $300 or more on a new unit.
- Ignoring a noisy door. A grinding or popping sound is a warning, not a personality trait. Ignoring it for months means a $75 roller replacement becomes a $400 track repair or a spring failure that takes the door out of service.
- Using the door after a broken spring. Even if the opener somehow lifts the door a few inches, you’re asking a motor and a drive system to do the work of a spring that’s no longer there. That strains the opener, warps the door panels, and puts you at risk of the door falling.
When to Call a Professional
Some repairs are obvious. A broken spring requires a professional, period. But there are other situations where a trained eye saves you money and time. If you’re not sure who to call, read How to Hire a Garage Door Contractor in Chula Vista: A Step-by-Step Guide first. If your door has come off its track, if the opener’s error code points to a logic board, if the door is visibly leaning to one side, or if you’ve tried the sensor alignment steps and the door still reverses, you’ve reached the limit of what most homeowners should attempt.
The telltale sign that it’s time to call is when you’re guessing between two possible causes. Our techs carry the diagnostic tools and the brand-specific parts to fix the problem in a single visit. If you’re in Chula Vista, we’re local: Hallmark Garage Door Repair offers free estimates and upfront pricing, with the quote agreed before any work begins. Call (833) 467-4256.
Frequently Asked Questions
Garage door repair costs in Chula Vista vary by the component. A sensor realignment or minor track adjustment typically falls under $150. Roller replacements run $100 to $250 depending on the roller type and how many need replacing. A torsion spring replacement usually costs between $180 and $340 per spring, including the part and labor. Opener logic board replacements run $250 to $450 on most models. Call (833) 467-4256 for an exact quote on your specific door, estimates are free.
A humming opener usually means the motor is getting power but the drive system can’t move the door. Check the emergency release cord to make sure it hasn’t been pulled, then try the wall button. If the door still won’t move, the issue is likely a stripped drive gear inside the opener, a seized trolley carriage, or broken springs that the opener cannot overcome. This is a situation where calling a professional is the right move.
Hallmark Garage Door Repair offers same-day and emergency service in Chula Vista when a door is stuck open or closed and the security of your home is compromised. Call (833) 467-4256 as early as possible in the day, and we’ll do our best to get a technician to your door quickly.
When a door closes fully and then reverses immediately, the opener’s force sensor is detecting pressure against the floor and interpreting it as an obstruction. The most common causes are a down-limit set too low, a force adjustment set too sensitive, or an unbalanced door with weak springs. Start by checking the limit settings on your opener, and if the problem continues, call a professional to evaluate the force settings and spring balance.
Yes. Hallmark Garage Door Repair is factory-familiar with LiftMaster, Chamberlain, Genie, Clopay, Amarr, Wayne Dalton, Craftsman, and Raynor, which means we know the specific hardware, tolerances, and failure points for each brand before we arrive. Whether you have a Craftsman door from the 1990s or a brand-new Raynor installation, we work on the door you have.
No. Hallmark Garage Door Repair quotes the repair price before any work begins, and that price is agreed to in advance. If the technician finds additional damage during the repair, we stop and show you exactly what we found before proceeding. You will never receive an invoice that’s higher than the approved quote without a conversation first.
The Bottom Line
Your garage door tells you what’s wrong if you know how to listen. Grinding points to the trolley or rollers. Popping means a spring broke. Humming says the opener motor is fighting something it can’t move. Reversing before the ground means sensors or limits. Reversing after touching the ground means force settings or balance. The dangerous work, springs and cables, should always go to a professional. For everything else, use the diagnostic steps in this guide and describe what you hear and see when you call. The right description gets the right parts on the truck, and the right parts mean a single-visit fix. If you need help in Chula Vista, whether it’s a repair or a full door installation, we’re one call away.
Written by the team at Hallmark Garage Door Repair, serving Chula Vista since 2016.
See the difference
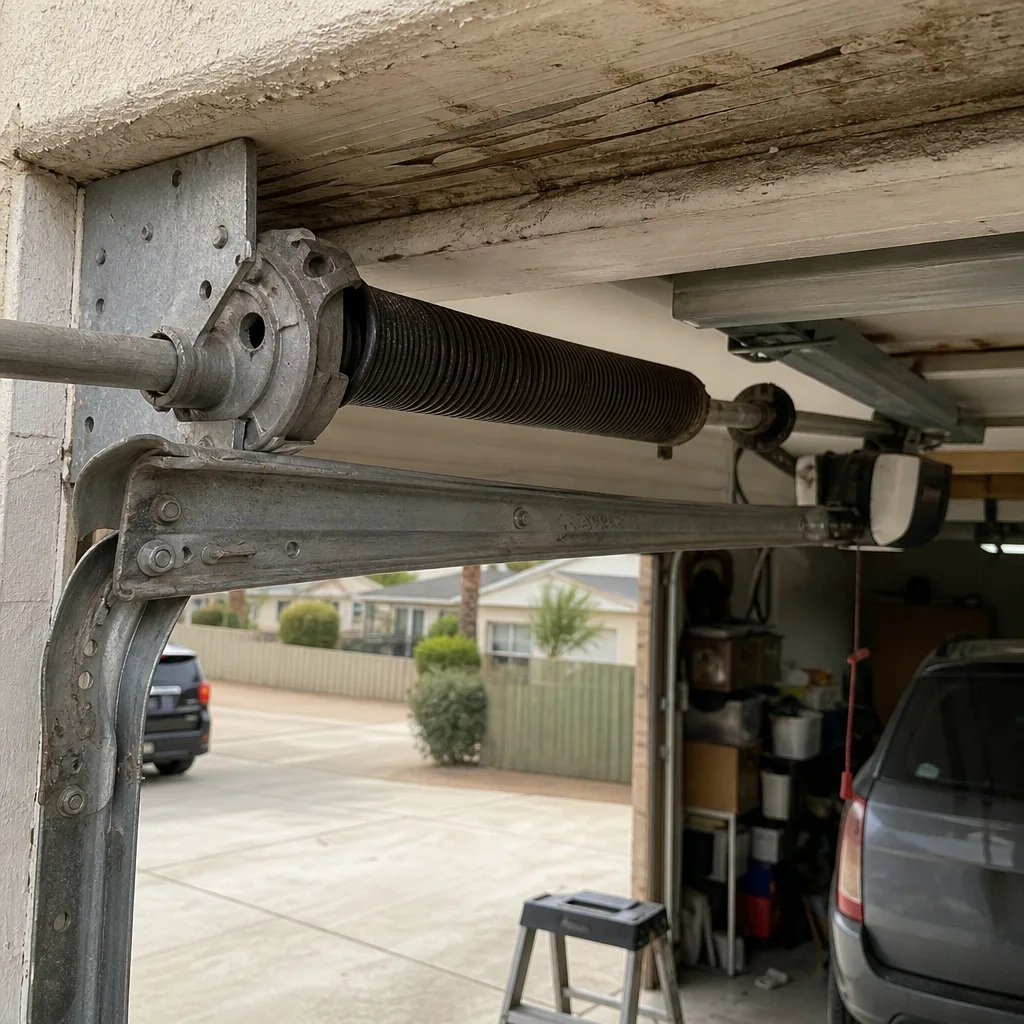 Before
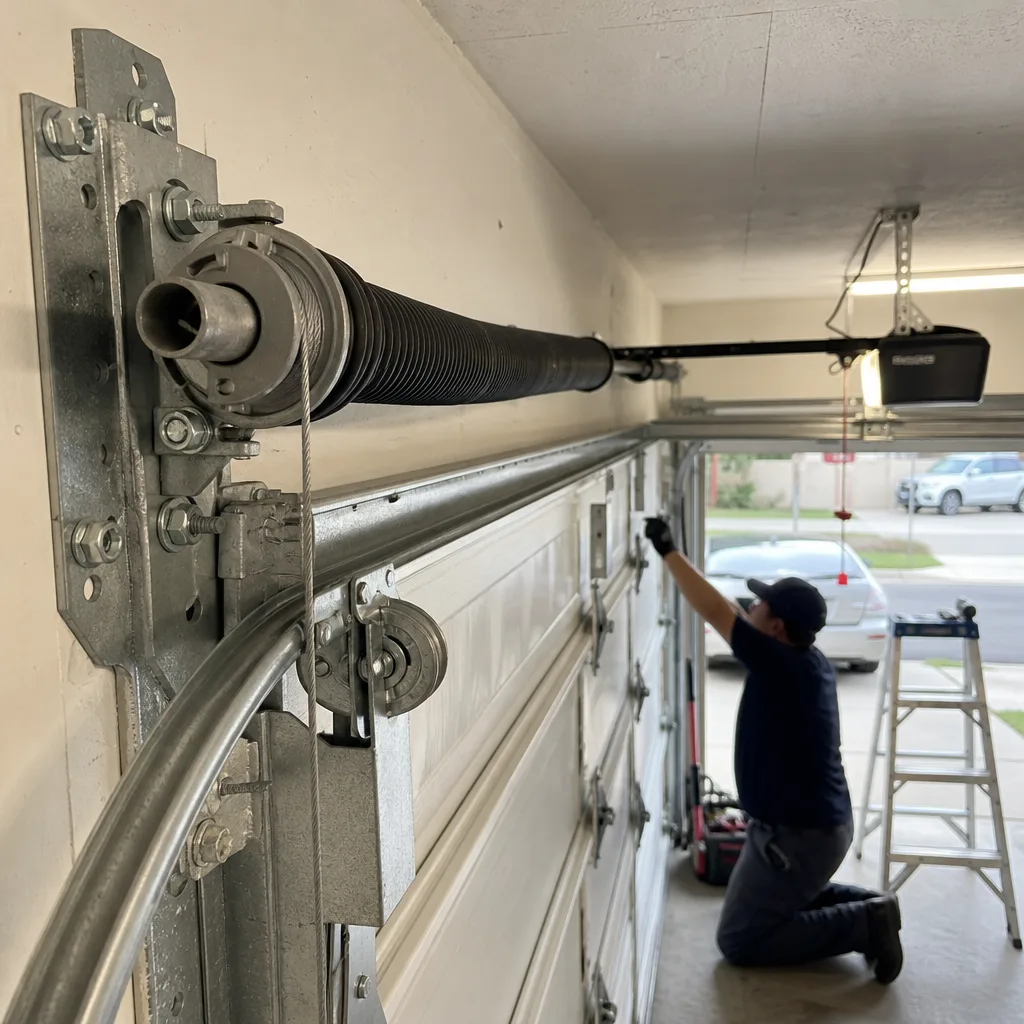 After
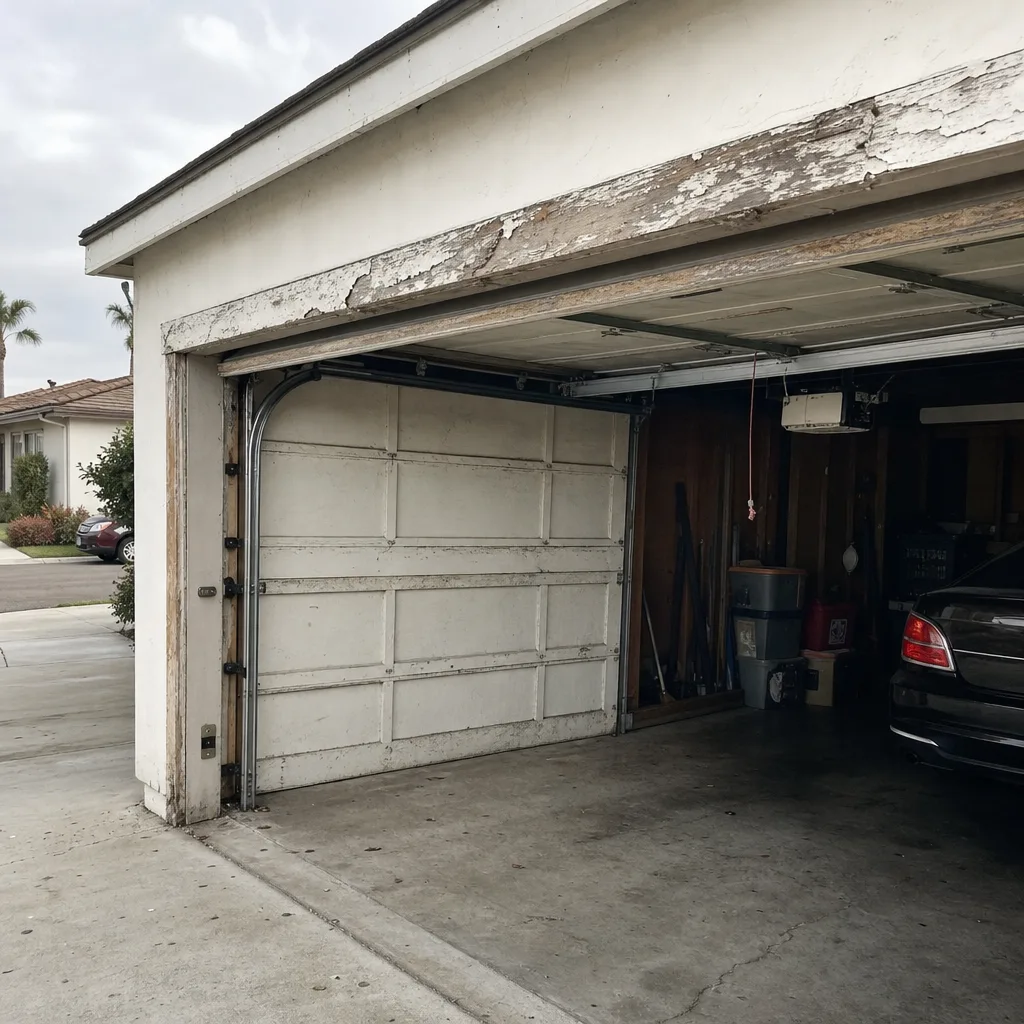 Before
 After
 Before
 After