Last updated October 30, 2026
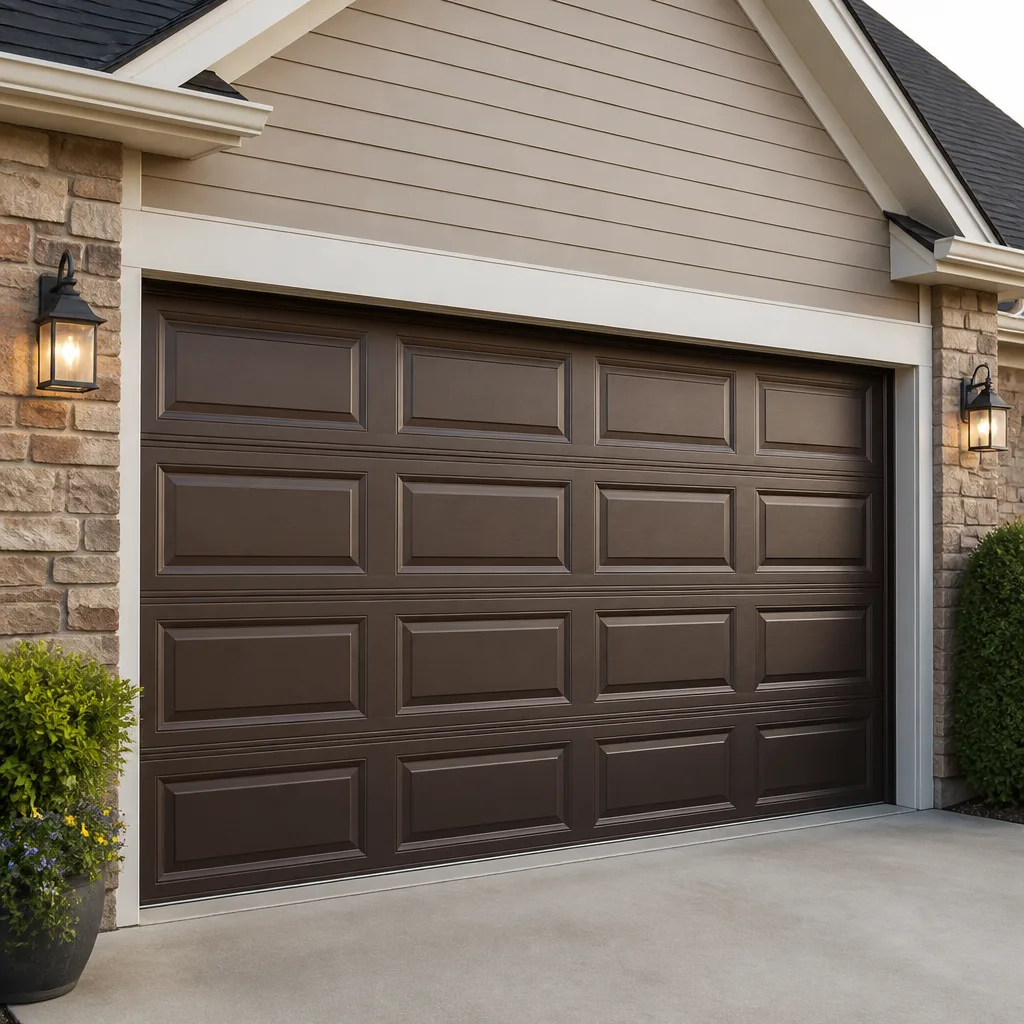 Raised-panel steel
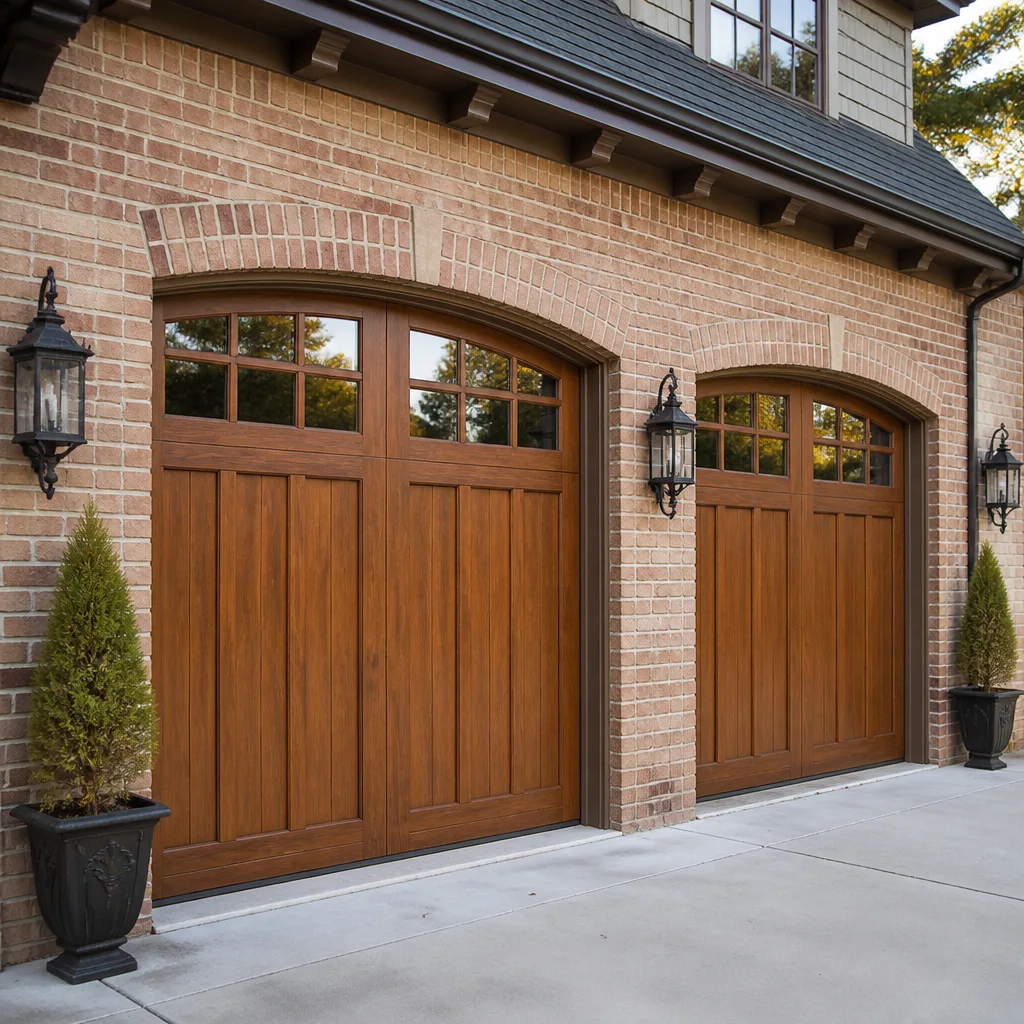 Carriage house
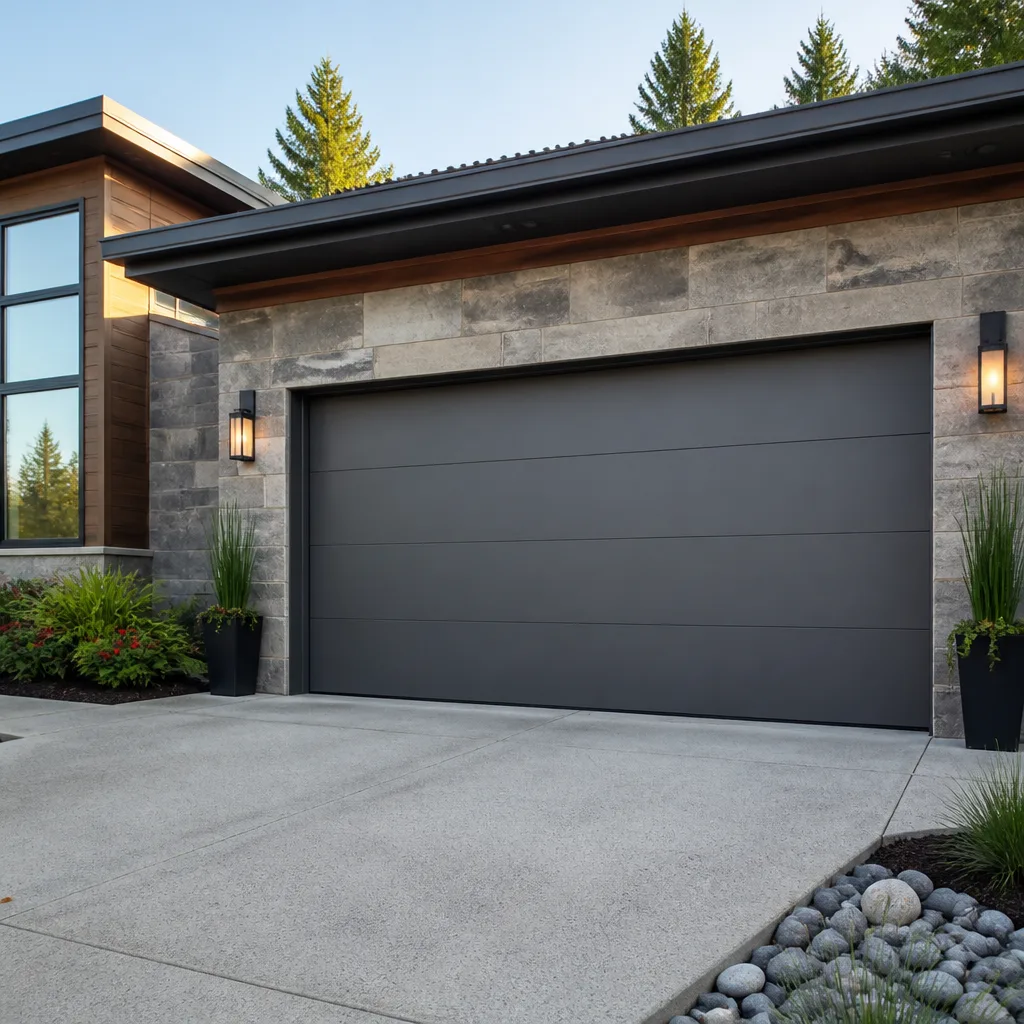 Modern flush
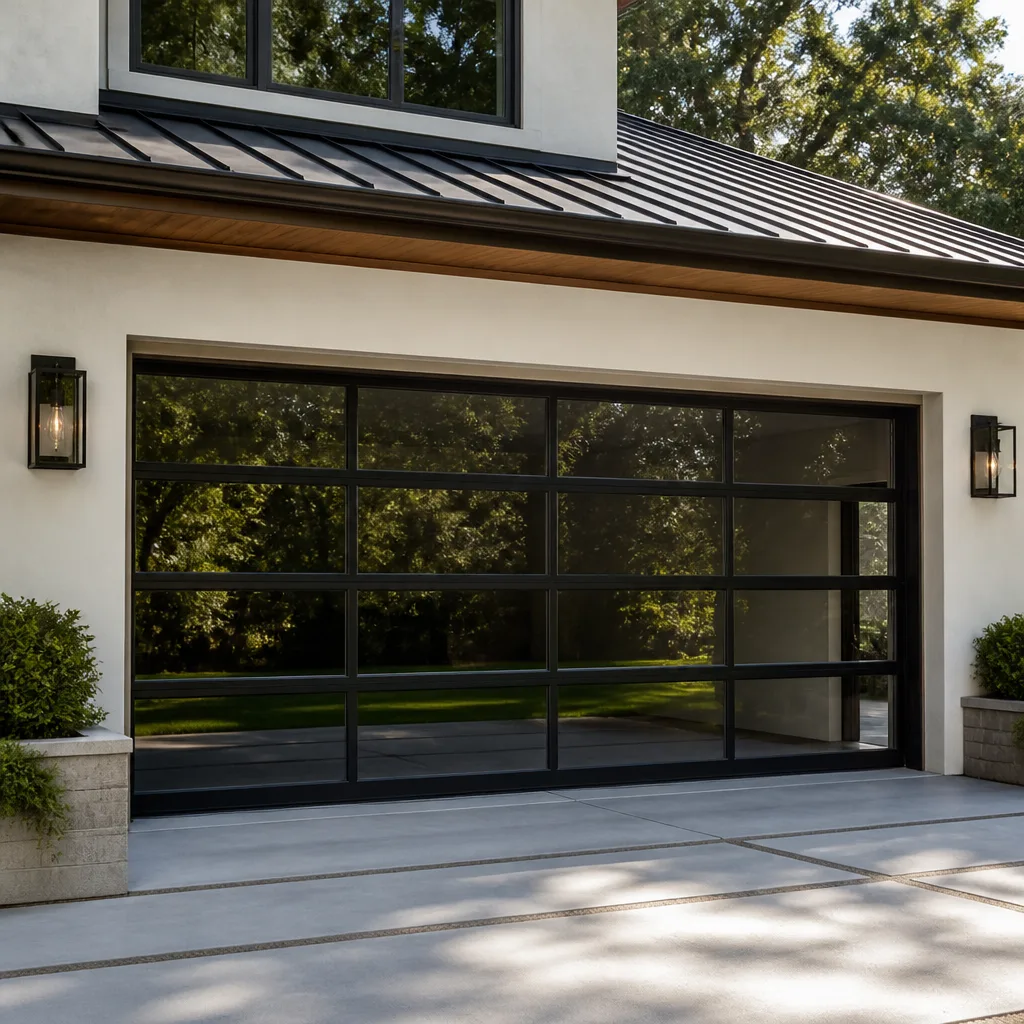 Full-view glass
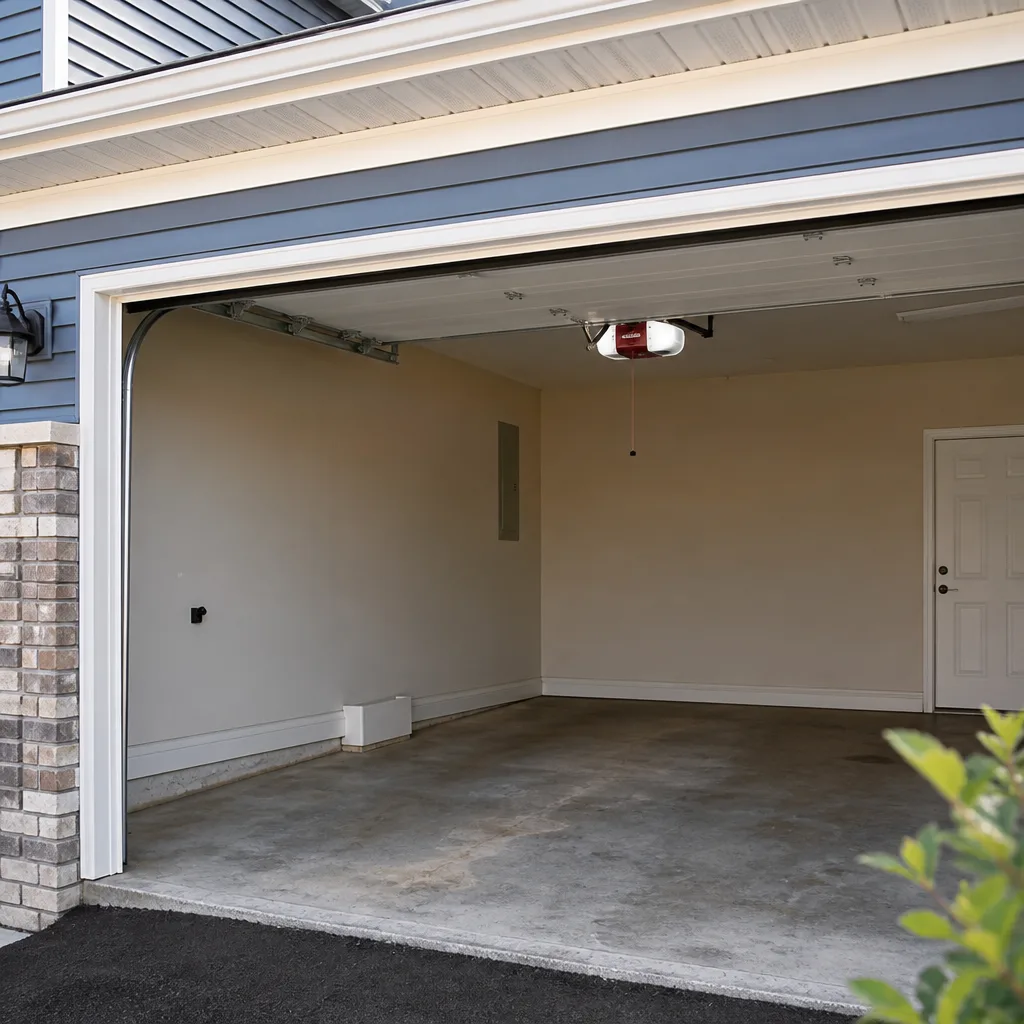 LiftMaster openers
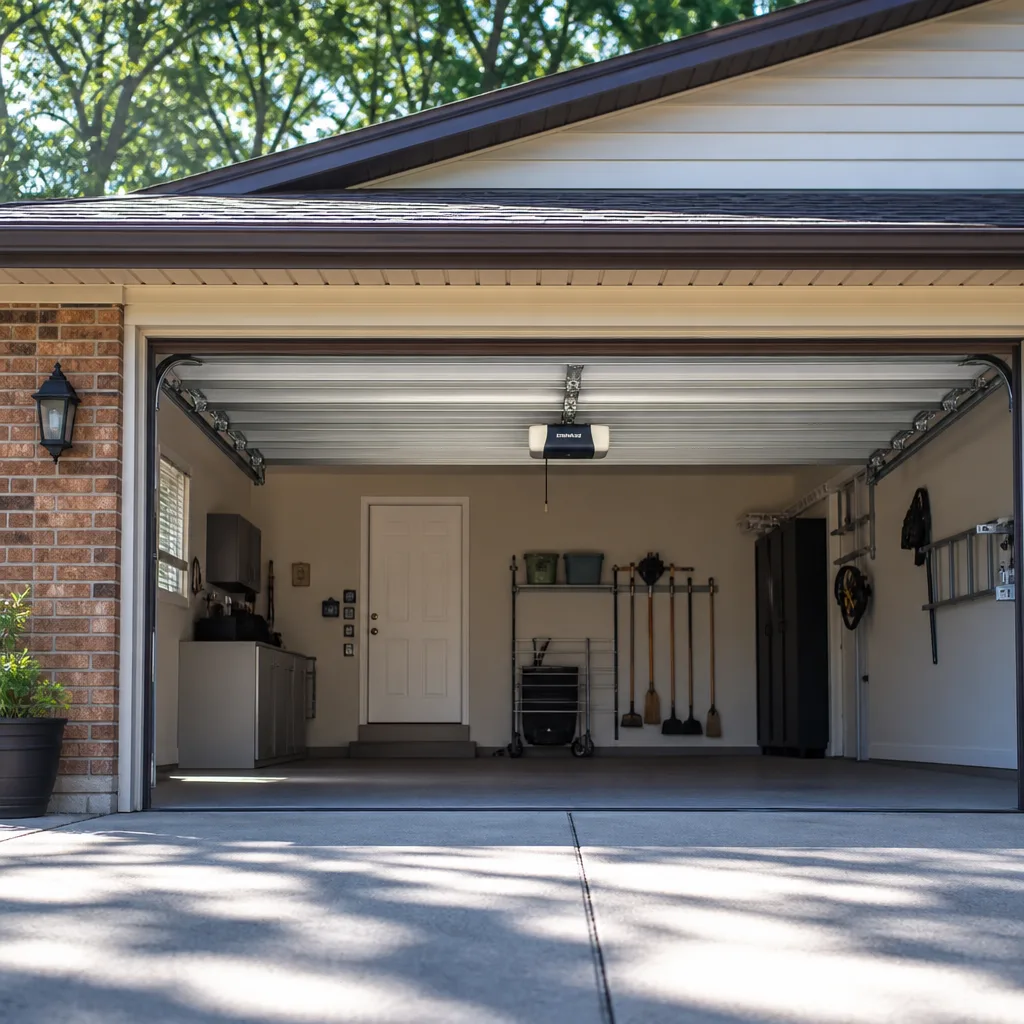 Chamberlain openers
Full 25-point door and opener safety check with every visit - springs, cables, rollers, tracks, and your LiftMaster or Chamberlain opener included
You get a price before we start. It does not change when the truck arrives.
Get your free estimateDIY vs Professional Garage Door: The Chula Vista Homeowner’s Decision Guide
Replacing a garage door bottom seal costs about $30 and takes 45 minutes with a utility knife. Replacing a torsion spring involves stored mechanical energy measured in hundreds of foot-pounds of torque, and emergency rooms across San Diego County treat amateur spring injuries every year. The line between DIY and professional garage door work is not a gradient of confidence or a YouTube tutorial away. It is a specific, mechanical boundary drawn at the component level. In Chula Vista, where coastal moisture accelerates rust on hardware and summer heat warps uninsulated panels, that boundary shifts slightly from inland markets. This guide draws the line precisely, part by part, so you know which repairs you can handle on a Saturday morning and which ones need a technician who diagnoses right and fixes right the first time. For more guides & resources, see our full blog.
Styles & brands we work with
Quick Answer
Most Chula Vista homeowners can safely handle four garage door tasks: bottom seal replacement, lubrication, battery swaps, and sensor realignment. Springs, cables, drums, track repair, panel replacement, and full door installation are professional jobs, not because they are difficult to understand but because the mechanical risk, warranty exposure, and permit requirements make DIY attempts expensive. Call Hallmark Garage Door Repair at (833) 467-4256 when the job touches anything under tension.
Table of Contents
- The Component-Level Split
- Four Tasks Chula Vista Homeowners Can Safely DIY
- What Belongs to a Professional, and Why
- How California Licensing Rules Affect Your Warranty
- The Permit Exposure of DIY Opener Installation in Chula Vista
- The True Cost of DIY Errors
- The Tool Inventory: What Legitimate DIY Actually Requires
- Common Mistakes to Avoid
- When to Call a Professional
- Frequently Asked Questions
- The Bottom Line
The Component-Level Split
Garage door systems look like a single machine, but they are really a collection of separate components with wildly different risk profiles. A weather seal is rubber stapled to aluminum. A torsion spring is a steel coil holding enough energy to move a 300-pound door. Treating every garage door problem as one category of work is how homeowners end up injured or with a door that crashes off its tracks.
In our experience across Chula Vista, the confusion usually starts when one component fails and the homeowner starts watching videos about something adjacent. A broken spring gets lumped in with general garage door repair, which sounds approachable. But spring replacement is not door repair. It is spring engineering. The distinction matters because the risk is mechanical, not intellectual. A smart homeowner with no training can understand how a torsion spring works. Understanding does not make the spring safer to handle.
Here is the split at the component level, drawn the way we draw it for customers:
- Homeowner-safe: bottom seals, weatherstripping, track and roller lubrication, opener battery replacement, photo-eye sensor cleaning and realignment, remote programming, keypad battery changes, light bulb replacement.
- Professional-only: torsion springs, extension springs, lift cables, cable drums, track replacement or bend repair, panel replacement, strut reinforcement, full door installation, opener motor replacement, and any repair involving the door’s balance or weight distribution.
- Gray zone, usually professional: roller replacement (seems simple, but rollers attach to brackets under spring tension), hinge replacement on the bottom sections (door weight and alignment risk), and opener replacement (electrical, safety, and permitting considerations).
The pattern is not hard to spot. If the component is under mechanical load when the door is closed, it is a professional job. If the component is accessible with zero tension on it and failure simply means the door leaks a little air, it is within reach of a careful homeowner.
Chula Vista’s climate adds one more layer. Salt air from the bay accelerates rust on exposed hardware in neighborhoods like Eastlake, Otay Ranch, and Rancho del Rey. A homeowner inspecting a rusted bottom bracket might think it is a simple bolt swap. But that bracket holds a cable under tension, and the rust means it has been weakening for years. That is a professional inspection, not a weekend project.
Four Tasks Chula Vista Homeowners Can Safely DIY
Not every garage door fix needs a service call. These four tasks are genuinely DIY-appropriate, provided you use the right materials and follow manufacturer guidance. Each one is low-risk, low-stakes, and reversible if done wrong. That last part is the key test. A DIY mistake on a bottom seal wastes $30. A DIY mistake on a spring sends someone to Sharp Chula Vista Medical Center.
1. Bottom Seal Replacement
The rubber seal along the bottom of the door rots faster in Chula Vista’s marine air than inland. Sun exposure on west-facing doors in neighborhoods like Terra Nova and Rolling Hills Ranch cracks the rubber within three to five years. When you see daylight under the door or water staining the concrete, the seal is done. The job: pull out the old rubber, clean the aluminum retainer, slide in the new seal. Tools required are a utility knife, a flathead screwdriver, and dish soap for lubricating the track. Total time: under an hour. Cost: $20 to $40 for the seal itself. Failure mode if done wrong: the door still leaks air. No safety risk.
2. Lubrication
Metal on metal needs oil. Chula Vista’s dry summers and coastal humidity mean garage door rollers and hinges squeak louder and wear faster without regular lubrication. Twice a year, apply a lithium-based grease to the hinges and a silicone spray to the rollers, springs, and tracks. Do not use WD-40 on garage door hardware. It is a water displacer, not a lubricant, and it washes away the protective film. The job takes 15 minutes. Cost of materials: about $12. Failure mode if done wrong: the door is messy but functional.
3. Opener Battery and Remote Replacement
If your LiftMaster or Craftsman opener still works from the wall button but not the remote, the problem is usually the battery in the remote or the backup battery in the motor unit. Both are user-serviceable. The remote takes a coin-cell battery. The motor unit backup battery is a larger pack behind a plastic panel. Programming a new remote on a Chamberlain or LiftMaster system usually requires pressing the learn button on the motor and the remote button within 30 seconds. The instructions are printed on the opener itself. Cost: $5 to $25. Failure mode: the remote does not work, and you try again.
4. Photo-Eye Sensor Alignment
The sensors on either side of the door track, about six inches off the ground, prevent the door from closing on people, pets, or property. When they fall out of alignment, the door refuses to close or reverses immediately. The fix is usually a matter of tightening the mounting bracket and adjusting the sensor until the indicator lights on both units glow solid. A level helps. A clean cloth clears the lens. Chula Vista’s dust and occasional rain can fog or dirty the lenses enough to trip the system. Cost: free. Failure mode: the door still will not close, which just means one sensor is still misaligned or the wiring is damaged, at which point a professional diagnostic is the next step.
These four tasks cover the vast majority of what a homeowner should attempt. Beyond them, the components start storing energy, bearing weight, or interacting with local building codes.
What Belongs to a Professional, and Why
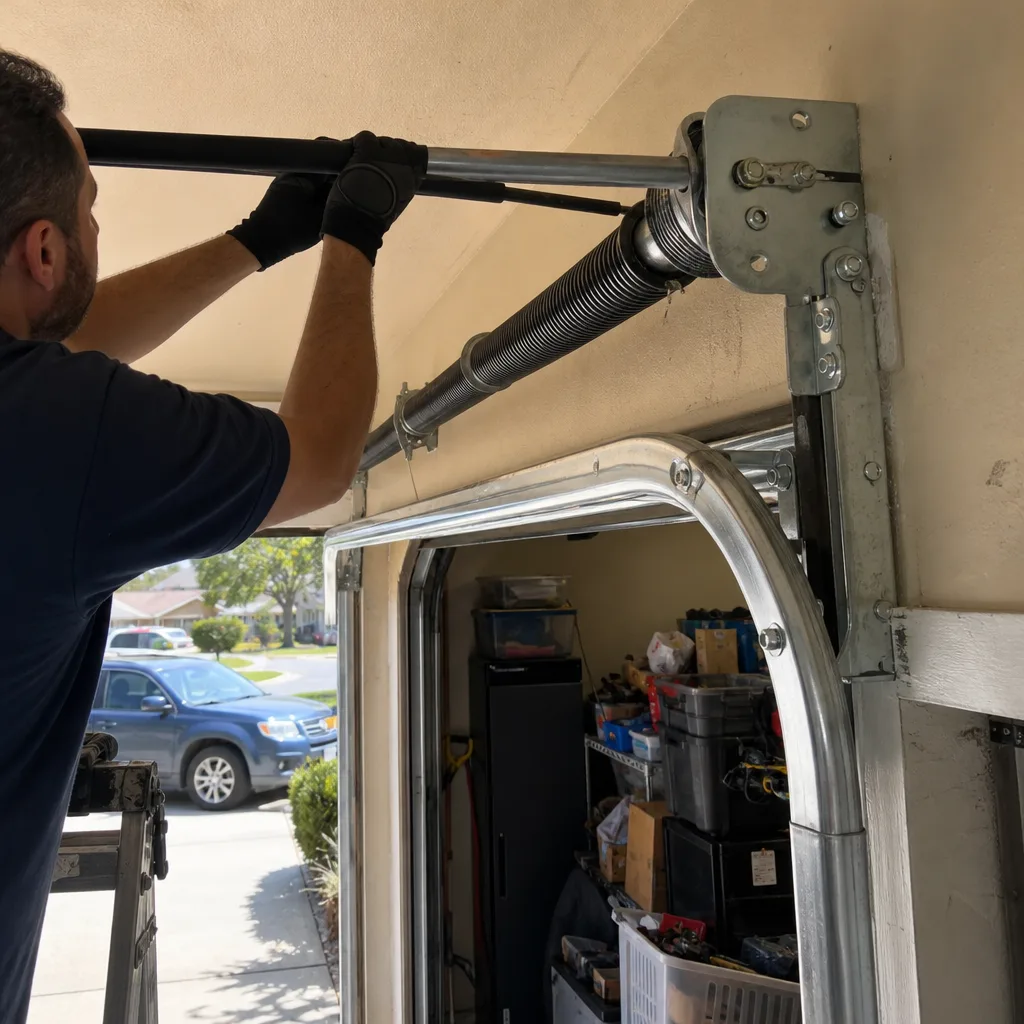
Some garage door parts are dangerous by design. That is not an exaggeration. A torsion spring on a double-wide door stores enough energy to lift 300 to 400 pounds dozens of times per day for years. That energy does not disappear when the door is closed. It sits inside the spring coil, waiting. If the spring snaps while someone is working on it, the released energy can break bones, sever tendons, or worse. This is not theoretical. It happens to homeowners every year.
Here is what belongs exclusively to a trained technician, and the mechanical reason for each:
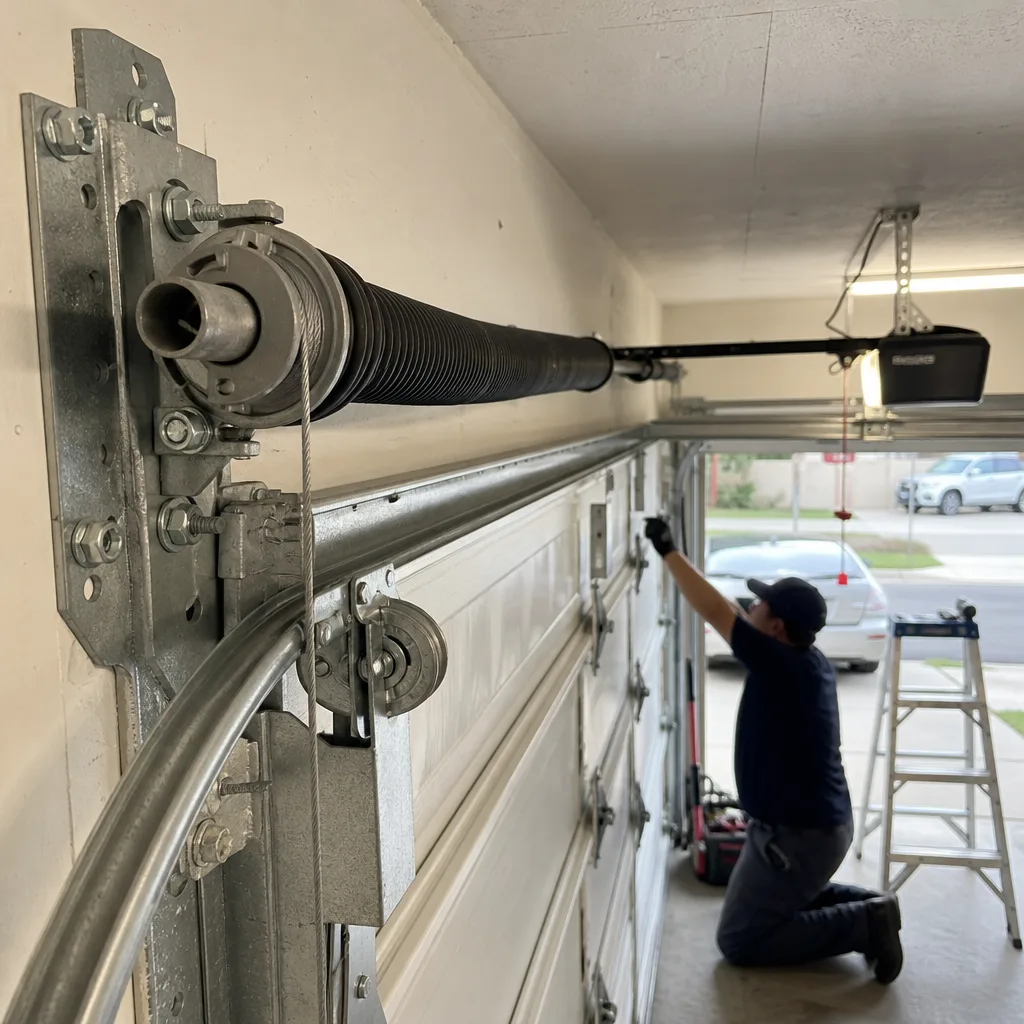
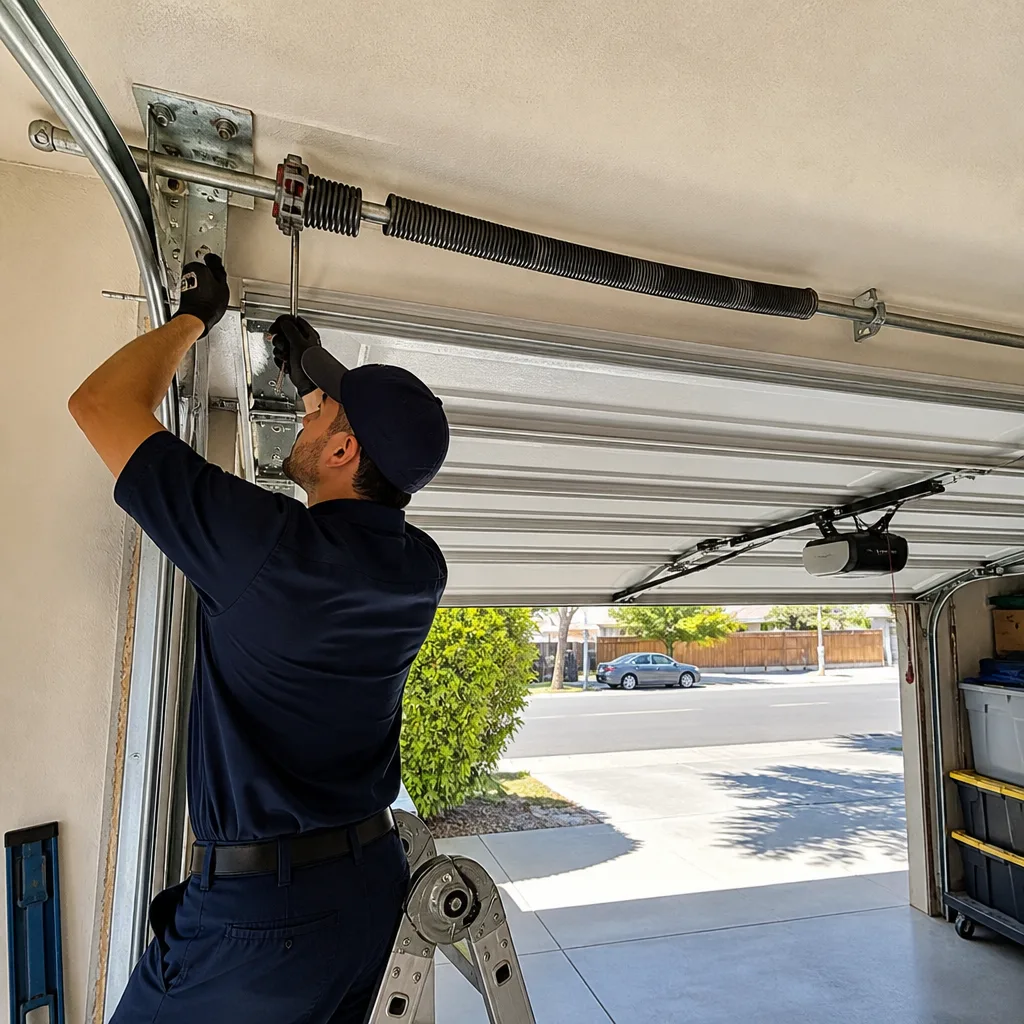
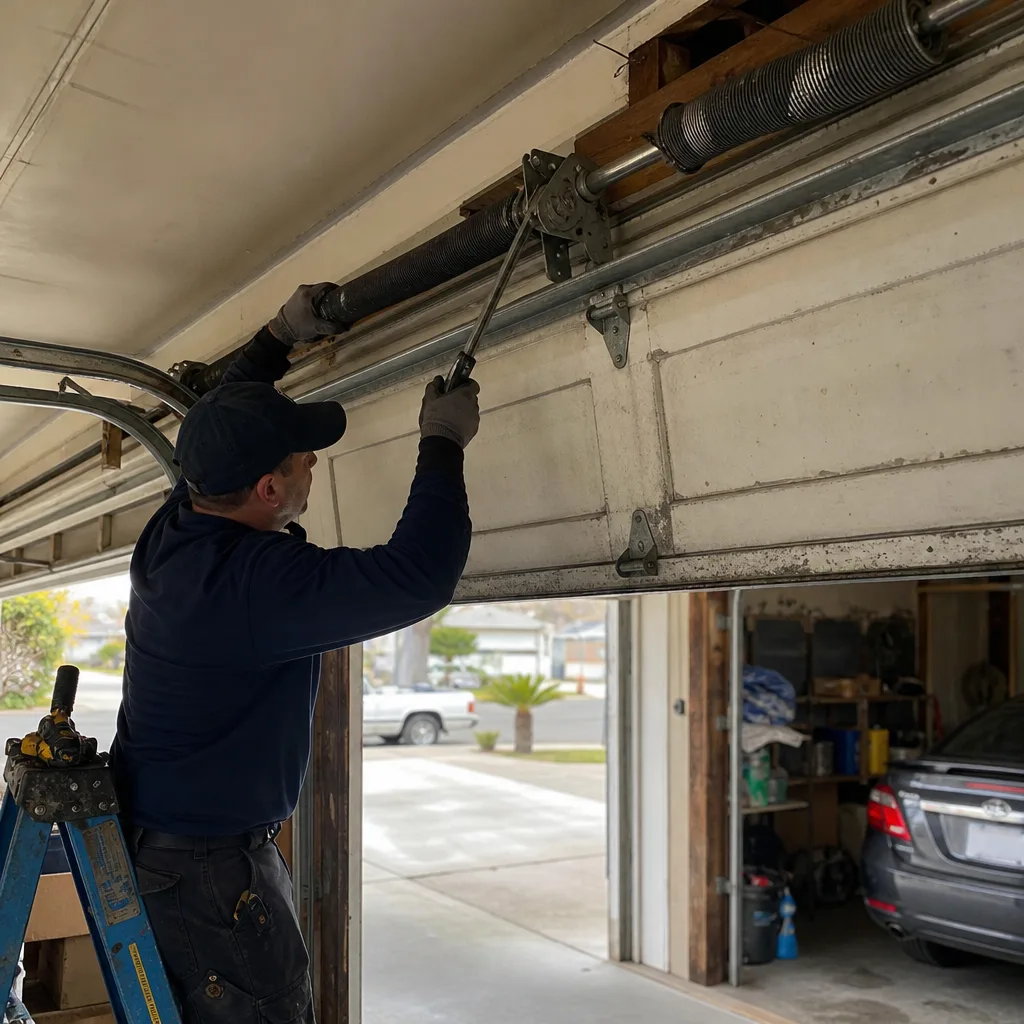
- Torsion and extension springs: These are the highest-energy components in the system. Torsion springs are mounted on a shaft above the door and wound under hundreds of pounds of torque. Extension springs stretch along the horizontal tracks and store tension when the door closes. Both require specialty winding bars, careful torque calculation, and a safety protocol that accounts for spring failure during installation. A mistake sends a steel bar flying at high speed.
- Lift cables: The cables connect the bottom corners of the door to the spring system. They are under full door weight when the door is closed. A frayed cable can snap without warning. Replacing one requires unwinding the spring tension first, and doing that safely is not a first-time skill.
- Cable drums: The grooved wheels at each end of the torsion shaft guide the lift cables. If they wear unevenly or come loose, the door lifts crooked. Drum replacement means de-tensioning the springs, which is the same hazard as spring work.
- Track repair or replacement: Vertical and horizontal tracks guide the rollers. A bent or misaligned track puts uneven stress on every other component. Repairing tracks requires getting the door rebalanced and realigned, and the door itself weighs more than most people can safely muscle into position.
- Full door installation: A new Clopay, Amarr, or Wayne Dalton door is not a bolt-on item. Sections must be stacked, aligned, and balanced against the spring tension. The springs must be wound to match the exact door weight, which differs by material, insulation, and window count. Installation also involves torch and power tools, lifting panels that weigh 80 to 150 pounds each, and a final safety inspection.
The pattern: every one of these jobs requires managing stored energy or moving a heavy, balanced assembly. The expertise is not in knowing what to do. It is in knowing what to do when the spring slips, when the cable snaps, when the panel shifts. That is where training separates a technician from a willing homeowner.
How California Licensing Rules Affect Your Warranty
Most Chula Vista homeowners do not realize that installing a garage door yourself can void the manufacturer’s warranty on the door. This is not a technicality. It is written into the warranty terms of several major brands, and California’s Contractor State License Board (CSLB) rules strengthen the manufacturer’s position.
Clopay and Amarr, two of the most common residential door brands installed in San Diego County, include clauses in their residential warranty programs that require professional installation by a licensed installer for full warranty coverage. The reasoning is straightforward: the manufacturer cannot verify that a homeowner installed the door correctly, and a misinstalled door fails prematurely in ways that look like manufacturing defects. When a warranty claim comes in and the installation was not performed by a licensed professional, the manufacturer has grounds to deny it.
California adds a second layer. The CSLB requires any contractor performing work over $500 on a residential property to hold a valid contractor’s license. A homeowner who hires an unlicensed installer for a new garage door has no recourse if the installation fails, and the manufacturer will almost certainly deny a warranty claim on an unlicensed installation. If the homeowner installs the door themselves, the warranty situation is even clearer: no professional installation, no coverage.
The practical result in Chula Vista is that a DIY door installation does not just risk a misaligned door. It risks losing thousands of dollars in warranty protection on the door itself. The same logic applies to opener installation on newer smart systems. Chamberlain and LiftMaster provide warranty support for motors, but improper installation of the safety sensors, force settings, or mounting hardware creates denial grounds. And in Chula Vista, Garage Door Permits, Codes & Inspections in CA: What You Need to Know makes it worse.
The Permit Exposure of DIY Opener Installation in Chula Vista
Garage door opener installation in Chula Vista can require a building permit, and when it does, a DIY installation creates legal exposure that most homeowners do not anticipate. The City of Chula Vista’s building code regulates garage door openers as part of the residential electrical and safety system. A new opener install that involves new electrical wiring, a new circuit, or structural modification to the garage framing triggers a permit and inspection.
The trigger points vary by project. Replacing an existing opener on existing wiring usually falls outside the permit requirement. But installing an opener where none existed, adding an outlet to the garage ceiling, or modifying the door frame to fit a new opener can all require a permit. When a permit is required and the work is done without one, the homeowner carries the liability. If the opener fails and causes property damage, insurance claims get complicated. If the home is sold and the unpermitted work is discovered during escrow, the seller may be required to pay for retroactive permitting, which means bringing the work up to code first.
The same principle applies to structural changes on the door itself. A full door replacement that changes the opening size, adds a second bay, or modifies the header requires a permit in Chula Vista. Licensed installers know which projects trigger permit requirements and which do not. A homeowner doing it alone must research the municipal code, and municipal codes are not written for quick reading. This is one of those places where a licensed professional is cheaper than the alternative, even before you factor in the value of the warranty.
The True Cost of DIY Errors
The misleading number in the DIY conversation is always the quote for a professional repair. A Chula Vista homeowner sees a spring replacement quote of, say, $220, checks the price of a replacement spring online at $60, and decides the professional is overpriced. But that math skips every cost after the purchase. Here is what the error actually costs when it goes wrong.
Misaligned tracks. The door starts binding. The opener motor strains against the resistance. Within months, the gear wears out, the chain stretches, or the belt slips. Now the homeowner is paying for the original repair plus a new opener drive system. The cost of error: $300 to $600 on top of the original quote, more than triple the spring savings.
Improperly tensioned springs. This is the most common DIY mistake on torsion spring replacements. A spring wound too loose leaves the door too heavy for the opener, burning out the motor. A spring wound too tight slams the door open and yanks the cables off the drums. Either way, the repair cost after the mistake runs two to three times what the professional would have charged originally. And if a cable whips free during the attempt, the injury risk becomes the primary cost, which no savings justify.
Opener programming errors on MyQ-enabled systems. A Chamberlain or LiftMaster opener with MyQ Wi-Fi integration seems like a simple install until the homeowner accidentally wipes the travel limits, force settings, or safety reversal calibration. The door either refuses to close, reverses when it hits nothing, or overdrives into the floor. Recalibrating a modern opener’s force profile without the manufacturer’s diagnostic tools is not straightforward. Technicians fluent in LiftMaster and Chamberlain systems fix these issues on the first visit. Homeowners spend weekends on phone support and reset buttons.
Water intrusion from a bad bottom seal install. This one is lower-stakes but common. A homeowner replaces the seal, does not seat it fully into the retainer, and the garage floods during the first heavy Chula Vista rain. Stored goods get wet. The drywall wicks moisture. Mold risk follows. The original professional install would have cost $120 and taken 40 minutes.
Every one of these errors shares the same structure: the savings on labor disappear the moment something else breaks, and the replacement part is never the most expensive part. The most expensive part is the cascade.
The Tool Inventory: What Legitimate DIY Actually Requires
Before starting any garage door project, do a tool audit. Most homeowners own a drill, a screwdriver, and a hammer. Legitimate garage door repair, even the simple tasks, often requires more. Here is the actual list for the four DIY-safe tasks we covered earlier, and a separate list for what professional jobs require, so the gap is clear.
For bottom seal replacement: utility knife with fresh blades, flathead screwdriver, pliers, dish soap or silicone lubricant, tape measure, work gloves, safety glasses. Total tool investment if you own none of it: about $45.
For lubrication: lithium-based grease, silicone spray lubricant, clean rags, step stool or ladder. Total: about $25.
For opener battery replacement: the replacement battery, a small Phillips screwdriver. Total: about $10 plus the battery.
For sensor alignment: a level, a clean cloth, a Phillips screwdriver. Total: about $15.
Now the professional list. For a torsion spring replacement, the minimum viable toolkit includes: winding bars of the correct diameter for the spring cone, a socket wrench set, locking pliers, a workbench vise, an impact wrench in some cases, a torque wrench, safety glasses, and heavy-duty work gloves. Winding bars alone cost $30 to $60 for a set, but the critical item is not the tools. It is the experience of having wound hundreds of springs without incident. A homeowner who buys the tools and watches a video is attempting precision work on a device that does not forgive error. The tool cost does not make it DIY-appropriate. The risk profile does.
Same logic for track replacement: you need a level, clamps, a pry bar, socket set, and spare mounting brackets. The tools total under $200. The reason it is a professional job is that the door weighs 300 pounds and moves while you are working under it.
Common Mistakes to Avoid
- Using the wrong lubricant on springs and rollers. WD-40 and similar sprays displace water and remove existing lubrication. They accelerate wear on torsion springs and roller bearings. Use lithium grease or silicone spray only.
- Attempting a spring replacement with screwdrivers in the winding cones. This is the most dangerous shortcut a homeowner can try. Screwdrivers snap under spring torque. Winding bars are forged steel for this exact load. A snapped screwdriver becomes a projectile.
- Disconnecting the opener from the door without releasing spring tension first. The opener trolley is not what holds the door up. The springs are. Pulling the release handle while the door is under unreleased tension sends the door crashing down.
- Assuming a new door does not need a permit. In Chula Vista, a full door replacement that alters the opening or requires structural changes triggers a permit. Skipping it becomes a problem at sale, at insurance claim time, or during a code inspection.
- Buying a universal remote without confirming frequency compatibility. Older garage door openers use 390 MHz. Newer smart openers from Chamberlain and LiftMaster use different frequencies and rolling codes. A universal remote may not pair, and the homeowner discovers the incompatibility after the package is open.
- Ignoring the door balance after any spring or cable replacement. A door that is properly balanced stays in place when lifted halfway by hand. A door that drops or rises on its own is unsafe and will destroy the opener motor over time. Balance testing is part of any professional repair, and missing it is the most common DIY failure.
When to Call a Professional
Call a professional when the component you are looking at is under tension, bearing weight, or wired into the home’s electrical system. That covers torsion and extension springs, lift cables, cable drums, track repair, panel replacement, and opener installation. Call a professional when you hear a loud snap from the garage and the door will not open, because that sound is a spring failing, and a second spring may be about to go. Call a professional when the door is crooked in the opening, when the cables look frayed, when the opener reverses for no visible reason, or when you have already tried a DIY fix and the problem persists. Garage Door Repair in Chula Vista starts with accurate diagnosis. Hallmark Garage Door Repair offers free estimates in Chula Vista, and our technicians work across LiftMaster, Chamberlain, Genie, Clopay, Amarr, Wayne Dalton, Craftsman, and Raynor equipment. Call (833) 467-4256 and we will tell you honestly whether the job is a simple homeowner fix or one that needs our tools and training.
Frequently Asked Questions
No. Torsion and extension springs store enough mechanical energy to cause serious injury when mishandled, and proper replacement requires specialized winding bars, correct torque calculation, and experience managing spring failure during the procedure. This is the single most dangerous garage door repair, and it should always be handled by a trained professional.
Spring replacement in Chula Vista typically costs between $180 and $340, depending on the door size, spring type, and whether one or both springs are replaced. Most professional repairs include the parts, the labor, and a door balance test after installation. Call (833) 467-4256 for a free estimate on your specific door.
California law places no restrictions on a homeowner repairing their own garage door as long as no permit is required for the specific work. Bottom seal replacement, lubrication, remote battery swaps, and sensor realignment are all legally and practically DIY-appropriate. A full door or opener installation that requires electrical or structural changes may trigger Chula Vista permit requirements, at which point licensed work is the compliance-safe path.
On major components, yes. Clopay and Amarr residential warranties require professional installation by a licensed installer for full coverage. DIY spring, cable, or door installation work creates a warranty denial risk because the manufacturer cannot verify the work quality. The same applies to Chamberlain and LiftMaster opener warranties when installation errors cause failures.
It depends on the scope. Replacing an existing opener on existing wiring generally does not require a permit. Installing an opener where none existed, adding a new electrical circuit for the opener, or making structural modifications to the garage framing can trigger a permit and inspection under Chula Vista’s building code. A licensed professional knows which projects trigger a permit and which do not.
Most single-component repairs, including spring replacement, cable replacement, and opener repair, take one to two hours on site. Full door installation takes four to six hours depending on the door size and whether old door removal is included. Many repairs in Chula Vista can be scheduled same-day or next-day, and estimates are free before any work is approved.
LiftMaster and Chamberlain are the two most common opener brands in San Diego County, and both are solid performers when installed correctly and maintained with twice-yearly lubrication. Genie and Craftsman openers are also widely used. The opener brand matters less than the installation quality, the door balance, and regular maintenance, which is why professional installation and annual spring-and-roller service matter more than the brand choice.
The Bottom Line
The question is not whether you can do a garage door repair. The question is what the component does when you handle it. Bottom seals, lubricant, batteries, and sensors accept amateur work gracefully. Springs, cables, drums, tracks, and full doors do not. They store energy, hold weight, and interact with Chula Vista’s building code and manufacturer warranties in ways that turn a $60 parts purchase into a $600 repair, a voided warranty, or a hospital visit. The wise homeowner draws the line at tension. Everything under tension belongs to a professional. Everything outside tension is fair game. If you are not sure which side of the line your problem falls on, call Hallmark Garage Door Repair at (833) 467-4256. We will tell you what you are dealing with before you touch anything, and the estimate is free.
Written by the team at Hallmark Garage Door Repair home, serving Chula Vista since 2016. We specialize in Garage Door Opener Repair in Chula Vista and Garage Door Installation in Chula Vista, and we work on the door you have, from opener to panel.
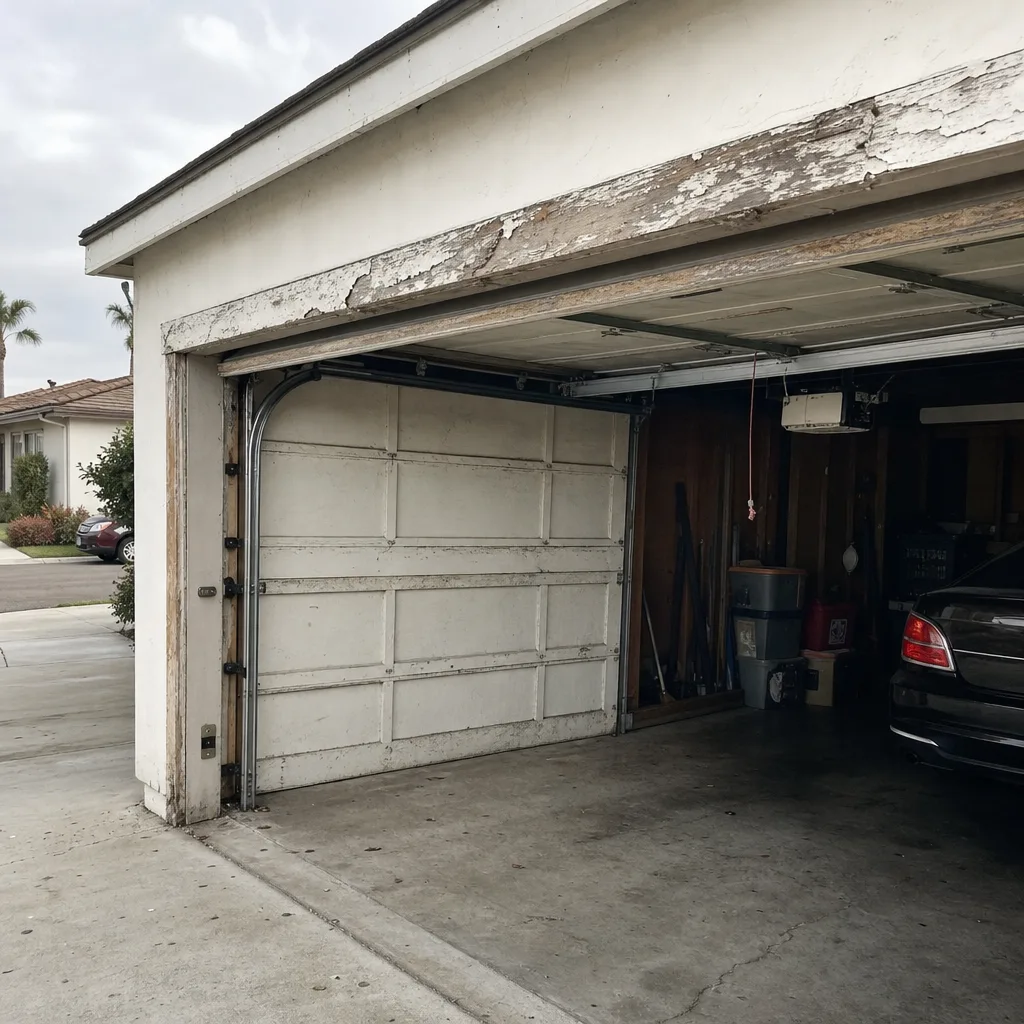
See the difference
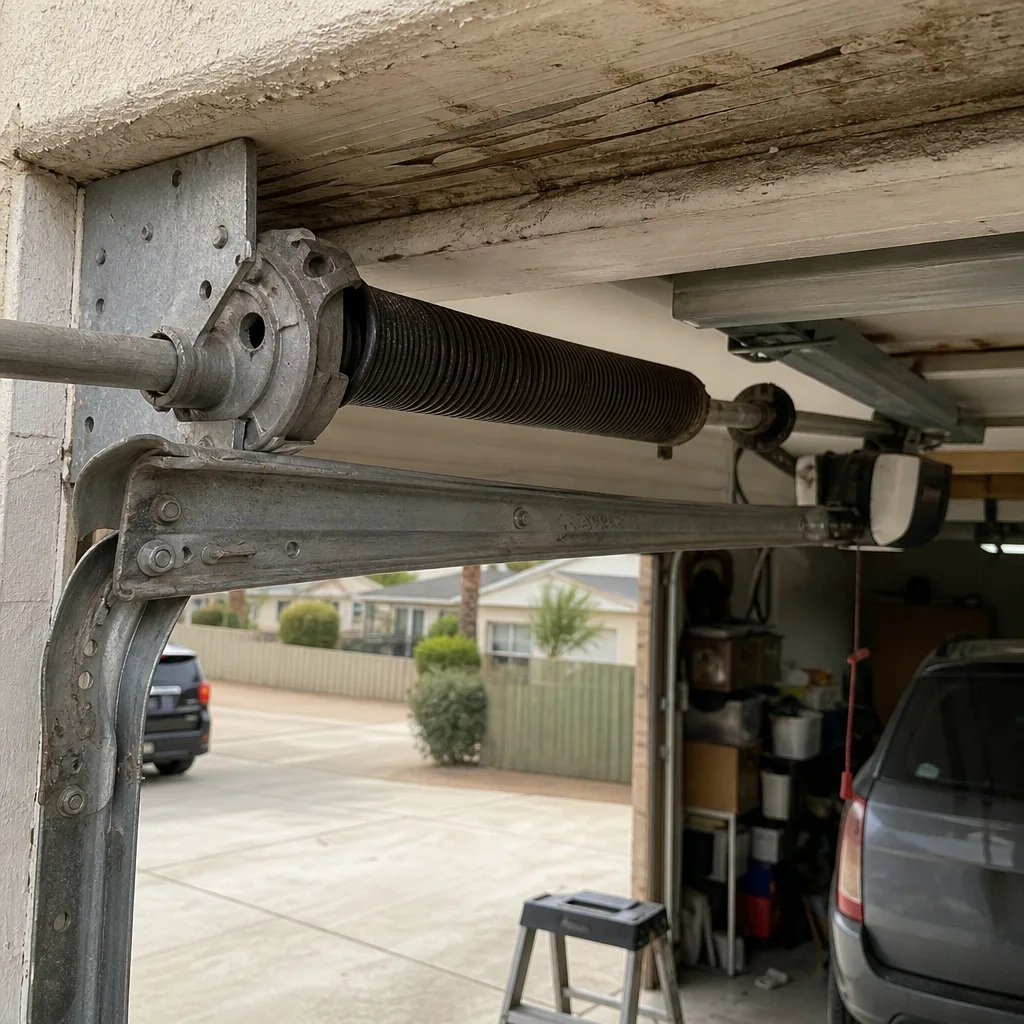 Before
 After
 Before
 After
 Before
 After