
Last updated October 30, 2026
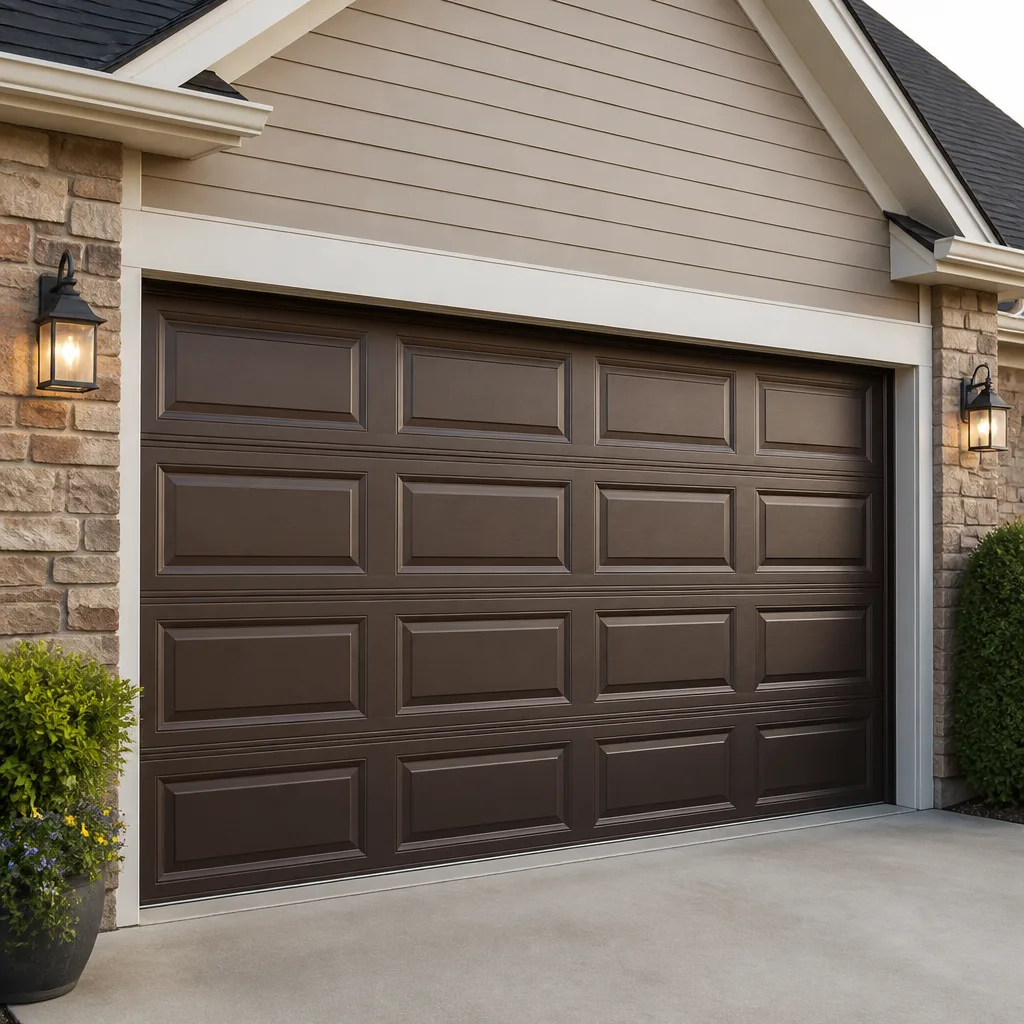 Raised-panel steel
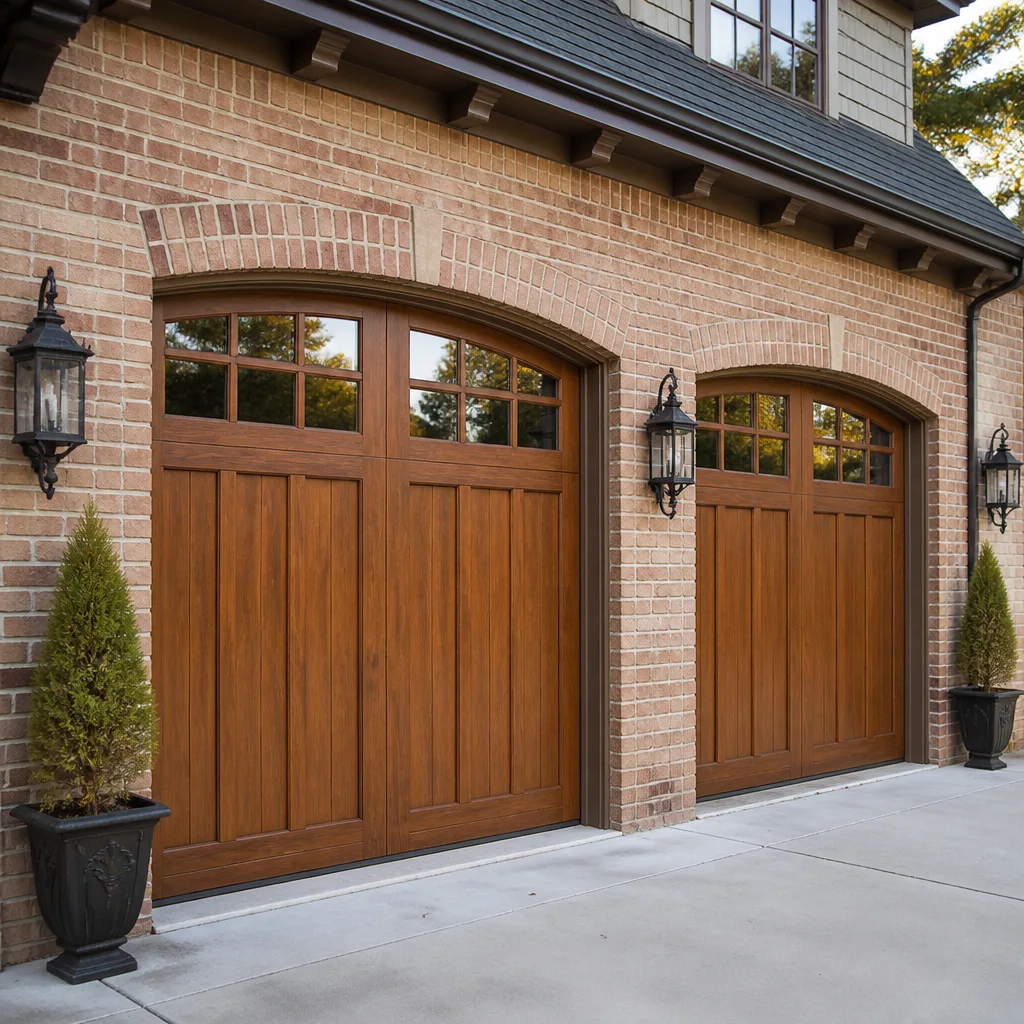 Carriage house
 Modern flush
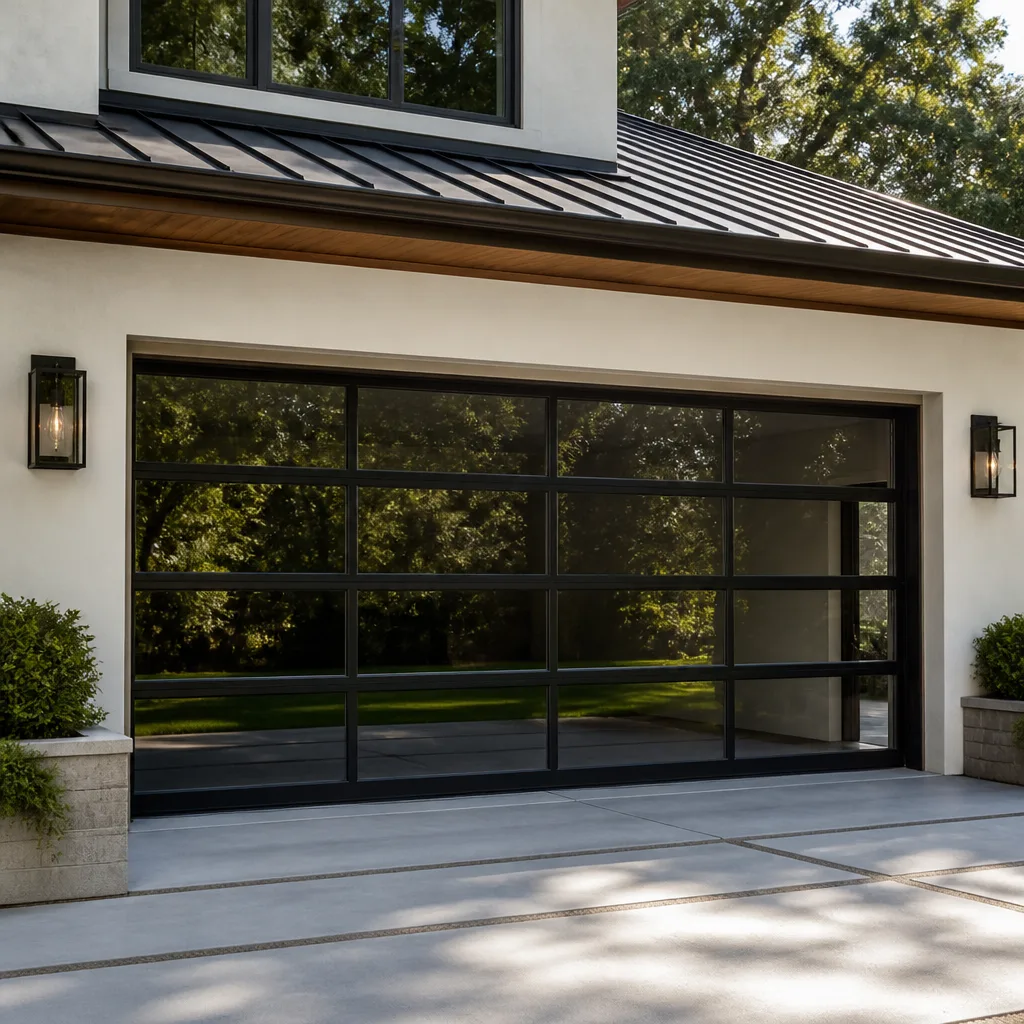 Full-view glass
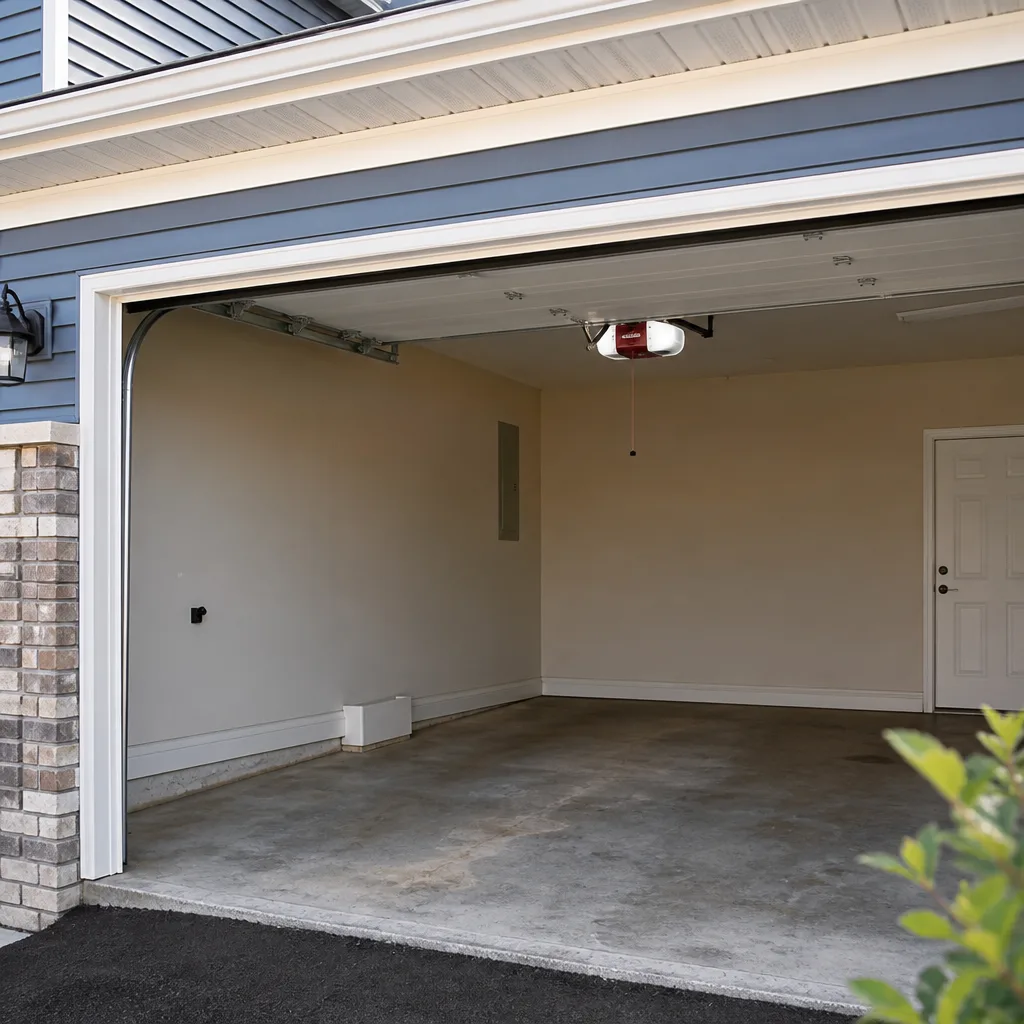 LiftMaster openers
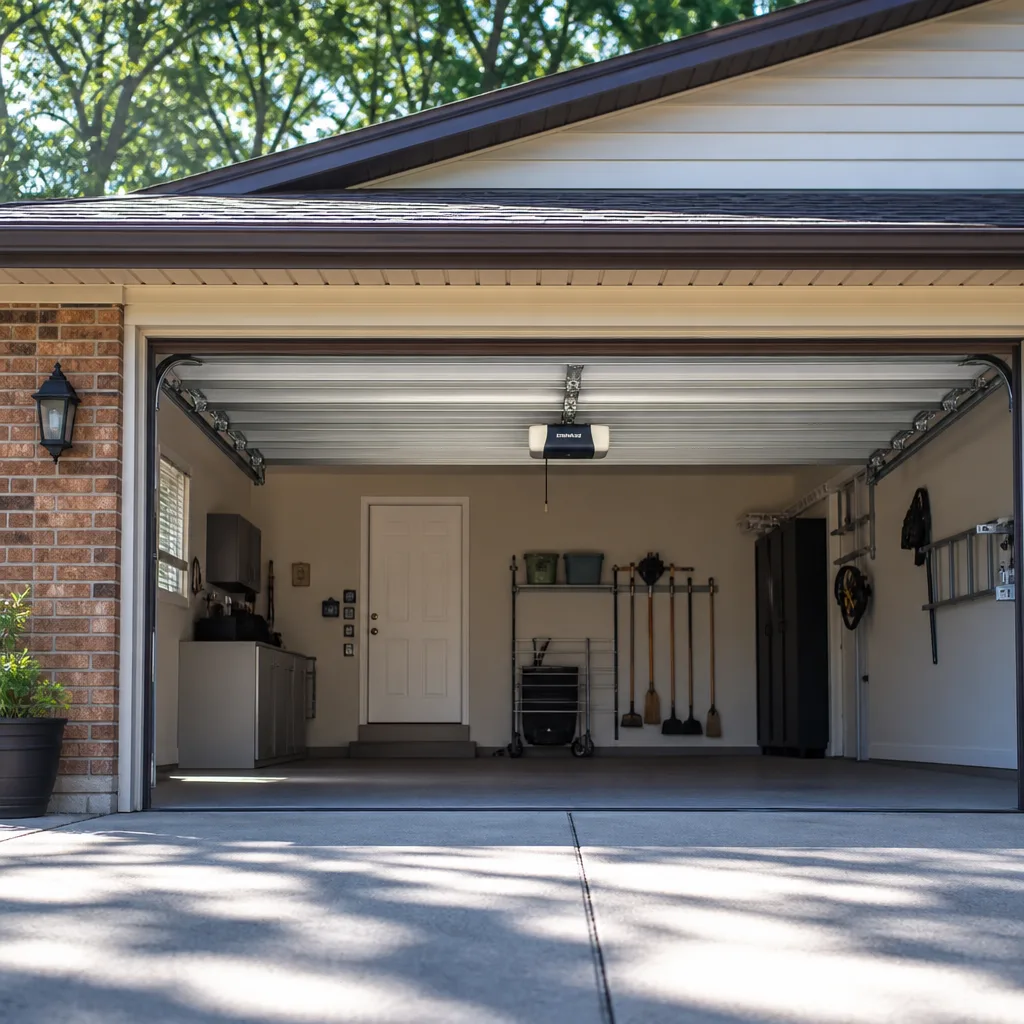 Chamberlain openers
Full 25-point door and opener safety check with every visit - springs, cables, rollers, tracks, and your LiftMaster or Chamberlain opener included
You get a price before we start. It does not change when the truck arrives.
Get your free estimateGarage Door Emergency Preparedness Guide for Chula Vista Homes
During the 2019 Kincade Fire PSPS events, thousands of California homeowners discovered their garage door opener’s manual release cord for the first time, in the dark, trying to leave. In Chula Vista’s fire-adjacent eastern communities like Otay Ranch and Eastlake, that’s not a hypothetical. This guide covers the two emergencies most homeowners never rehearse: power outages that trap vehicles behind electric openers, and seismic events that knock door tracks out of alignment precisely when you need to exit quickly. By the time you finish reading, you’ll know exactly what to check, what to practice, and what to fix before either scenario finds you unprepared, with links to Garage Door Repair Troubleshooting: Common Problems and How to Fix Them and more guides & resources.
Styles & brands we work with
Quick Answer
Garage door emergency preparedness in Chula Vista means three things: knowing how to disengage your opener’s motor and lift the door manually, keeping a battery backup charged if you have a LiftMaster or Chamberlain smart opener, and inspecting your door’s tracks, springs, and header bracket after any seismic event before you attempt to operate the door. Most Chula Vista homes have an emergency release cord hanging from the opener rail, and many also have an outside emergency release key cylinder that works without power. Practice the manual release twice a year, and store a dedicated release key where household members can find it in the dark. For a full schedule, see our Garage Door Repair Maintenance Checklist for Chula Vista Homeowners.
Table of Contents
- PSPS Outages and Your Garage Door: The Real Risk
- How to Use the Manual Release Cord on LiftMaster and Chamberlain Openers
- The Outside Emergency Release Key Cylinder Most Homeowners Don’t Know About
- Battery Backup Openers: What They Do and How Long They Actually Last
- Post-Earthquake Garage Door Inspection: What to Check Before Operating
- How to Secure a Garage Door That Won’t Latch After a Forced Entry or Impact
- The Pre-Emergency Checklist: What to Test This Weekend
- Common Mistakes to Avoid
- When to Call a Professional
- Frequently Asked Questions
- The Bottom Line
PSPS Outages and Your Garage Door: The Real Risk
Chula Vista sits in SDG&E territory, which means Public Safety Power Shutoffs during high-wind, low-humidity fire conditions are part of life here. Unlike a rolling blackout that lasts an hour, a PSPS event can stretch 24 to 72 hours. That changes the math. Most homeowners assume a garage door opener is a convenience device, but during an extended outage it becomes the only barrier between your vehicle and the road. If you have a single-car garage and your opener is dead, you’re not driving anywhere until you disengage it manually.
The failure pattern we see in Chula Vista tract homes from the 1980s through the 2010s is consistent. The opener is installed on the ceiling with a release cord hanging down, but the cord’s handle has yellowed, the release mechanism has corroded slightly from coastal humidity, and nobody in the household has pulled it since move-in day. When the outage hits, someone yanks the cord at the wrong angle, the mechanism doesn’t disengage, and panic sets in. The fix is simple: test it now, in daylight, with no pressure, and teach everyone in the house where it is.
For homes in Otay Ranch, Rolling Hills Ranch, and other eastern Chula Vista communities where SDG&E has historically staged PSPS shutdowns, a battery backup opener or a practiced manual release routine should be standard. The garage door opener repair work we perform in Chula Vista frequently includes replacing aging openers in PSPS-prone zones with models that include integrated battery backup.
How to Use the Manual Release Cord on LiftMaster and Chamberlain Openers
LiftMaster and Chamberlain openers dominate Chula Vista’s garage door market because most local builders installed them as original equipment in tract developments from Eastlake to Otay Mesa and Otay Ranch. Both brands use the same basic manual release design, and knowing the procedure for one means you know the procedure for the other.
Here is the step-by-step process, written for someone doing it in the dark with a flashlight in one hand:
- Confirm the door is closed. If the door is open when you pull the release, it can slam down. This is the single most important safety step, and people skip it under pressure.
- Locate the red release cord. It hangs from the opener rail, typically about 6 feet off the ground, near the motor unit. On Chamberlain and LiftMaster models installed in the last 15 years, the handle is red T-shaped plastic.
- Pull straight down, not sideways. A firm downward pull disengages the trolley from the carriage. You’ll hear a distinct click or snap. The door is now in manual mode.
- Lift the door using the handle or the bottom edge. A properly balanced garage door should feel heavy but manageable, roughly 8 to 15 pounds of lifting effort if the springs are intact. If it feels like you’re lifting 150 pounds, stop. That means a spring has failed, and the door is no longer counterweighted.
- Raise the door fully and confirm it stays up. A well-balanced door will stay put. If it drifts downward, the springs need attention before you trust manual operation long-term.
- To re-engage, pull the release cord again while the door is in the raised position, then press the opener remote. The trolley will reconnect to the carriage on the next cycle.
If you can’t complete this sequence in under two minutes during daylight, practice until you can. In a fire evacuation, two minutes of fumbling is two minutes you don’t have. Hallmark Garage Door Repair technicians demonstrate this procedure on every service call in Chula Vista, because we’ve seen too many door emergencies that started as a simple power loss and became a stuck door because nobody knew how to release it. The Hallmark Garage Door Repair home page has more on how we approach door service from opener to panel.
The Outside Emergency Release Key Cylinder Most Homeowners Don’t Know About
Every garage door with an opener has two disengagement points: the indoor release cord, and an outside emergency release mechanism that works without power. On most Chula Vista homes, the outside release is a small key cylinder mounted on the exterior of the garage door, roughly centered, connected to a steel cable that runs to the opener’s release mechanism inside.
The outside release exists for a scenario most people don’t think about: you’re outside your garage, the power is out, and you don’t have another way into the house. Maybe you came home during an outage and your keypad is dead. Maybe you left the house through the front door and need to get your car out. Without the outside release, you’re locked out of your own garage.
To use it, you need the emergency release key, which is a small flat key distinct from your house key. It’s often stamped with a brand name like Genie or Chamberlain. Many homeowners inherit these keys from previous owners and never test them. The lock cylinder can seize from coastal air exposure, especially in west Chula Vista neighborhoods closer to the bay, where salt air corrodes exposed hardware faster than inland areas.
Here’s what to do:
- Find the key cylinder on your door. If you don’t see one, check the door’s center stile near the top panel. Some installations place it lower, near handle height.
- Insert the emergency release key and turn it. The cable pulls the release mechanism inside, disengaging the trolley.
- Lift the door manually from the outside handle. With the lock disengaged, the door should lift freely.
If the key turns but nothing happens, the cable has either detached or stretched. That’s a simple repair, but it requires removing the interior release assembly to access the cable connection. For Chula Vista homeowners who have never tested their outside release, we recommend doing it this week. If the mechanism fails, Garage Door Repair in Chula Vista is a core service we offer, and a seized outside release is one of the most common emergency calls we field after PSPS events.
Battery Backup Openers: What They Do and How Long They Actually Last
Battery backup openers solve the PSPS problem directly. LiftMaster’s 8550WLB and 87504 models include an integrated battery that kicks in automatically when line power cuts out. Chamberlain offers comparable battery backup capability on its premium belt-drive openers. If your Chula Vista home already has one of these units, the battery lets you open and close the door normally during an outage, though fewer cycles than you’d get on house power.
Real-world runtime matters more than the spec sheet. LiftMaster rates its battery backup at roughly 20 to 30 open/close cycles on a full charge, depending on door weight and balance. For most houses, that’s two to three days of normal use, which covers a typical PSPS window. But here’s the catch that catches people off guard: the battery degrades over time. A backup battery that’s three years old might deliver 10 cycles instead of 25. In coastal Chula Vista air, batteries also discharge slightly faster due to temperature swings between inland heat and bay humidity.
Two practical recommendations:
- Test the battery every 6 months. Cut power to the opener at the breaker or unplug it, then run the door twice. If it struggles on the second cycle, the battery is aging.
- Listen for the beep. Most LiftMaster and Chamberlain backup units beep once every 30 seconds when running on battery. If you hear that beep during a normal day, your opener has lost line power somehow, and you should investigate the outlet before the battery drains.
If your current opener predates battery backup technology, retrofitting is usually straightforward. The opener is replaced, the door itself stays. That’s the Garage Door Installation in Chula Vista service we provide for homeowners who want to upgrade without changing an otherwise functional door. In our experience, homes in Otay Ranch and Eastlake, where PSPS shutdowns have occurred repeatedly, benefit most from this upgrade.
Post-Earthquake Garage Door Inspection: What to Check Before Operating
Chula Vista sits near the Rose Canyon fault zone, and while the big one hasn’t hit in living memory, moderate seismic events happen. After any shaker strong enough to rattle dishes, garage doors are among the first household components to suffer misalignment. The problem is that damage isn’t always visible at a glance, and the first thing people do after an earthquake is try to open their garage door to check on the neighborhood, or to get their car out for safety.
Before you press that opener button, do these five checks in order:
- Look at the door from a few feet back. Is the door still sitting evenly in the opening, or is one side dropped? A visible tilt means the track or cable has shifted and the door should not be operated.
- Check the vertical tracks on both sides. Are they still flush against the wall, or is there a gap? Are the track brackets still attached to the framing, or did any screws pull out? In older Chula Vista homes with wood framing, track brackets can tear loose during lateral shaking.
- Inspect the header bracket. This is the metal plate bolted above the door where the opener rail attaches. If it has shifted even half an inch, the opener rail is now off-angle, and running the motor will bind the door and possibly bend the rail.
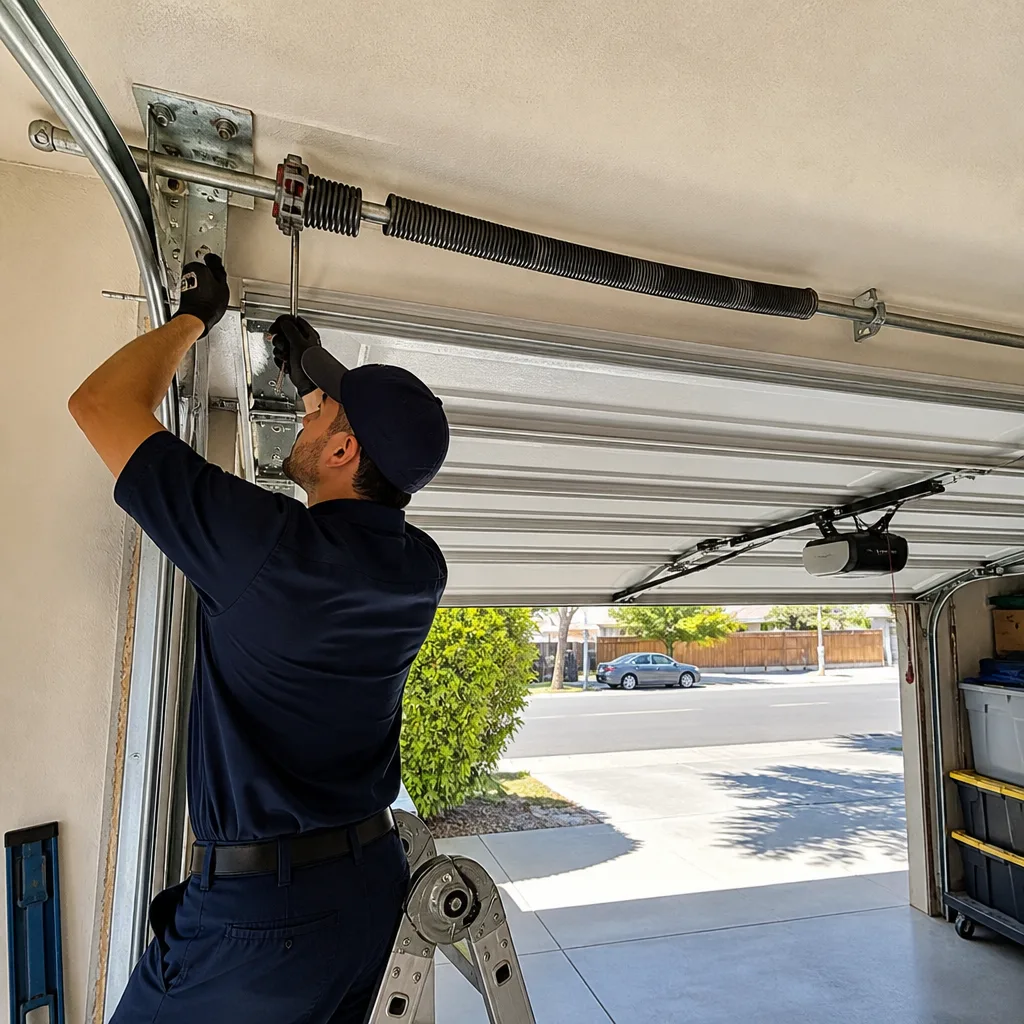
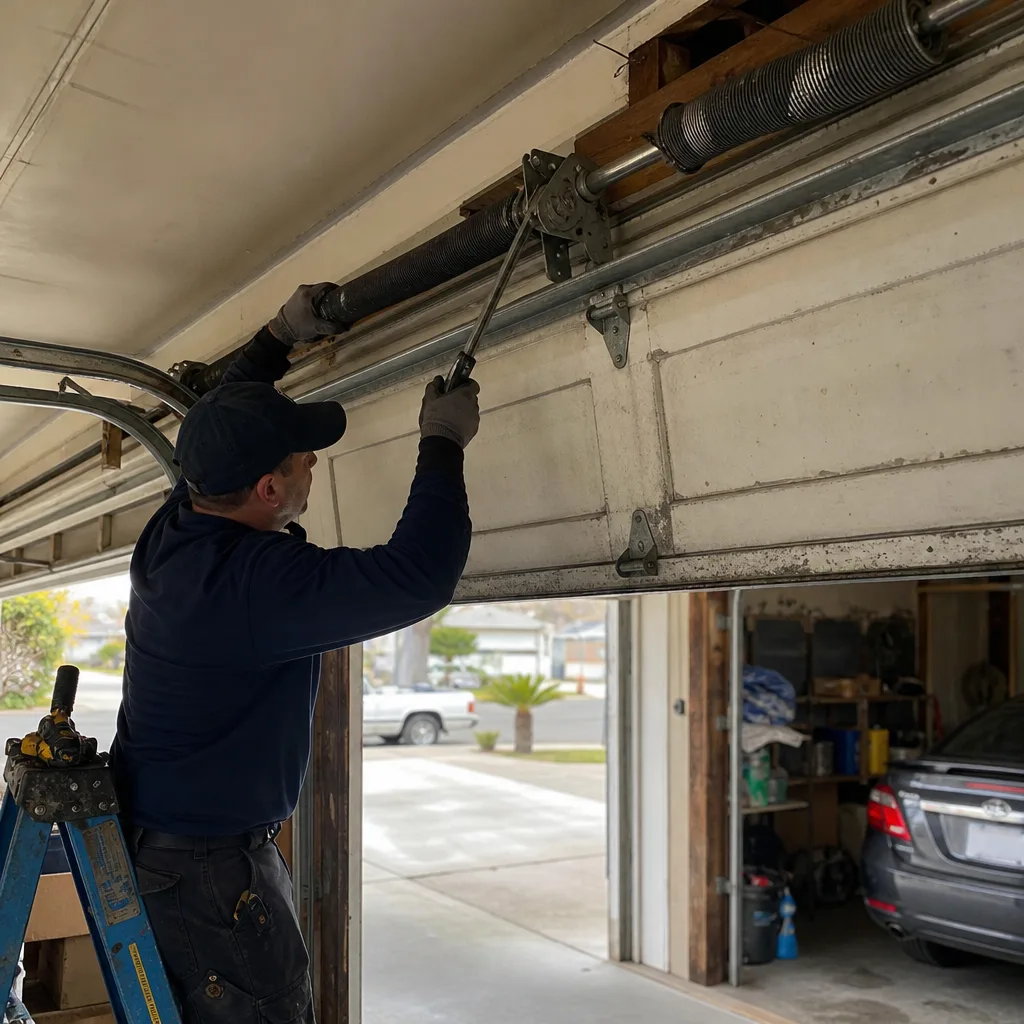
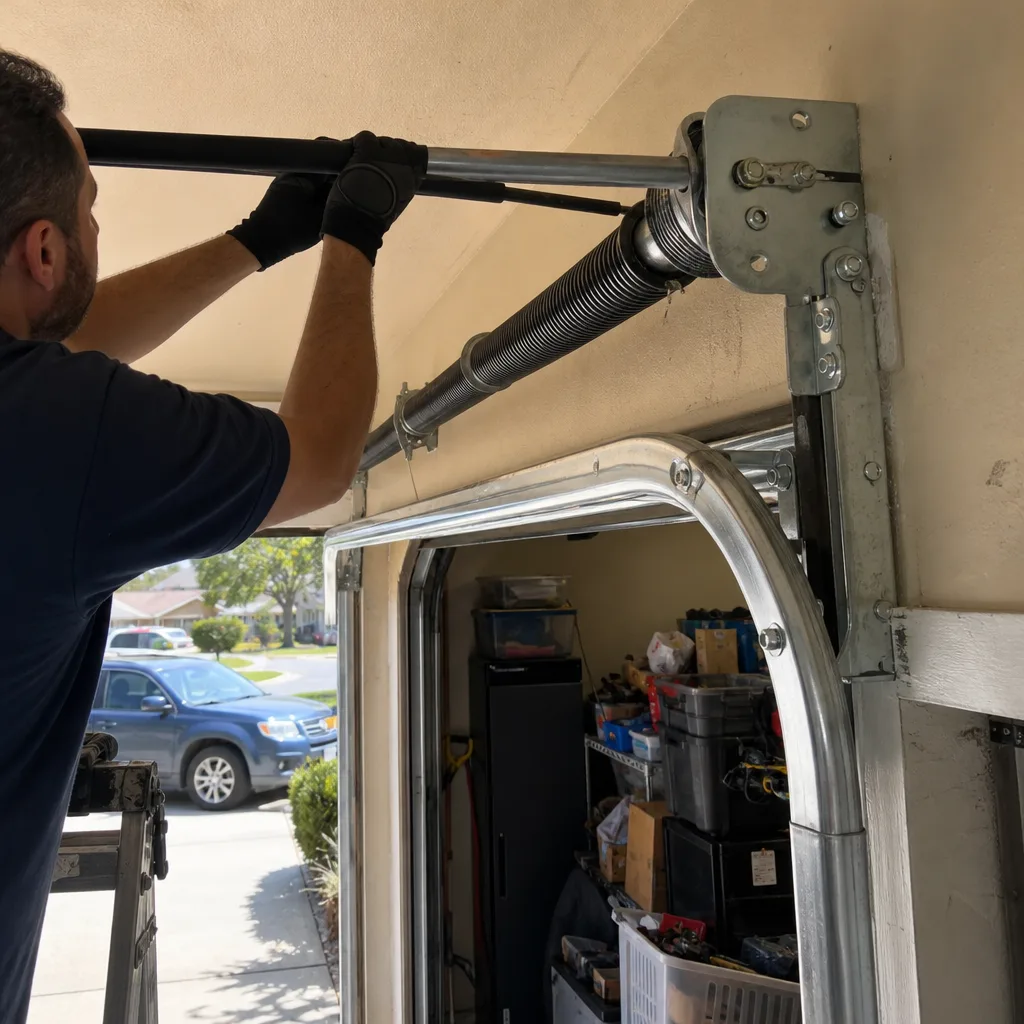
- Look at both extension or torsion springs. For torsion systems, check the spring assembly above the door for signs of displacement. For extension systems, check both side springs. If one spring is dangling or visibly stretched, do not operate the door. A broken or displaced spring under tension is dangerous.
- Run the opener, but stand clear. If the first four checks pass, run the opener and watch the door’s entire travel. If it shakes, stalls, or scrapes, stop the cycle immediately and release the motor. A grinding noise usually means track misalignment. A clicking sound often means a cable has jumped a pully.
After a seismic event, the safest move is to release the opener and operate the door manually if you must get your vehicle out. If the door binds during manual operation, that’s your signal that professional alignment is required. Tracks, springs, and cables are all under tension, and correcting misalignment on your own can cause serious injury. Diagnosed right, fixed right applies here: knowing what to look for is half the equation, and knowing when to stop is the other half.
How to Secure a Garage Door That Won’t Latch After a Forced Entry or Impact
Forced entry attempts against garage doors are more common in Chula Vista than most homeowners assume. Thieves target garage doors because they’re the largest unmonitored opening in most homes, and because a partially forced door often won’t latch properly afterward, giving intruders an easier target on the next attempt. Vehicle impacts happen too, particularly in tight driveways where a driver misjudges the distance and clips the bottom panel.
Whether the cause is a crowbar, a well-aimed kick, or a bumper, the immediate problem is the same: the door no longer sits flush with the track, and the latch mechanism no longer engages. Here’s how to buy yourself a secure night before a repair can be scheduled:
- Disengage the opener and lower the door manually. You want to confirm the door still travels the full distance. If it does, great. If it binds halfway down, that’s structural damage, and the door should not be forced.
- Use vise grips on the vertical track. Clamp a heavy-duty vise grip onto the track just above one of the door rollers. This physically prevents the door from being lifted from outside. Use one on each side for a double barrier.
- Slide a deadbolt through the track if your door has one. Many newer Chula Vista homes have garage doors with built-in slide bolts that engage into the side tracks. If yours has one, use it.
- Place a padlock through a track hole. Some vertical tracks have pre-drilled holes near floor level. A padlock through that hole blocks the rollers from moving upward.
- Block the door from inside with a heavy object. A steel bar, a heavy toolbox, or a wedge of wood under the bottom panel makes lifting from outside considerably harder, though it’s not a substitute for a proper track lock.
- Test the manual release cord. Disengage the opener, lift the door manually, lower it, and re-engage. Anyone in the house who drives should do this at least once. If the door is hard to lift, have the spring balance checked by a professional. A door that fights you during a manual lift is a spring problem, not a strength problem.
- Locate and test the outside emergency release key. Find the key cylinder, insert the key, and turn it. If the cable moves the release mechanism inside, you’re set. If not, the cable needs service. This is the step most Chula Vista homeowners skip because they’ve never used the release key since buying the home.
- Check battery backup status if your opener has one. Listen for warning beeps, check the diagnostic light sequence, and run a power-cut test. Replace aging batteries before fire season, not during an outage.
- Confirm the keypad outside is working and that household members know the code. After a power outage, some keypads reset or lose programming. Test it monthly. The code should be something the whole household knows, not just the person who programs it.
- Walk every household member through the full manual operation sequence. Not a verbal explanation. Hands on the release cord, hands on the door handle, hands raising the door. Muscle memory is what works in an emergency, and muscle memory only comes from doing.
- Pulling the manual release while the door is open. The release disengages the motor, and if the door is up, it can come crashing down. This is the most common injury-causing mistake we hear about from Chula Vista homeowners who tried to “figure it out” during an outage.
- Assuming the outside release key is the same as your house key. It’s not. The emergency release key is a separate flat steel key, often unmarked or stamped with a brand name. If you can’t find yours, test the cylinder with whatever keys the previous owner left behind, and if none work, have the cylinder rekeyed or replaced.
- Operating the door blindly after an earthquake. After shaking, tracks shift, cables jump pulleys, and brackets pull loose. Running the opener without a visual inspection can turn a minor misalignment into a bent track and a derailed door.
- Using the opener as a diagnostic tool. If the door isn’t working right, repeatedly pressing the remote just compounds the damage. A door that stalls, grinds, or shakes is telling you something. Listen the first time.
- Storing the only emergency release key inside the house. If you’re locked out of the house during an outage, a key inside the house doesn’t help you. Store a duplicate release key in a secure but accessible outside location, or with a trusted neighbor.
- Ignoring a slow or uneven manual lift. A properly balanced door lifts with minimal effort. If manual operation is a struggle, the springs are declining. Waiting until one breaks outright is more expensive and more dangerous than a tune-up now.
- Re-engaging the opener without clearing the door’s path. After re-engaging the release, the opener’s next cycle will move the trolley. If the door is partway up, the trolley can slam into the carriage. Always raise the door fully before re-engaging on most models.
These are temporary measures. A door that’s been impacted or pried needs a proper inspection, because the damage often extends to hinges, panel struts, and the track alignment that you can’t see from inside. Amarr and Clopay steel doors, common in newer Chula Vista subdivisions, handle impact differently than older wood doors, and the repair approach varies by model. We’ve handled forced-entry repairs across every major brand installed in the South Bay, and the pattern is consistent: temporary securing gets you through the night, but deferred repair leads to heavier damage and higher cost within a few weeks.
The Pre-Emergency Checklist: What to Test This Weekend
Emergency preparedness lives or dies on repetition, as we cover in more guides & resources. A checklist you read once is a checklist you won’t remember at 5:30 a.m. during an evacuation warning. These five items take about 20 minutes to test, and every adult in the household should complete them at least once. Do it twice a year, ideally when you change smoke detector batteries.
If any of these tests fail, make the repair now. Chula Vista’s fire season overlaps with PSPS season, and a door that won’t release when the power is out is a problem that can’t be scheduled around.
Common Mistakes to Avoid
When to Call a Professional
Some emergency preparedness tasks are homeowner territory, and some are not. Broken springs, displaced tracks, damaged cables, and header bracket issues involve stored tension and heavy components. If your post-earthquake inspection reveals track separation, if the manual release doesn’t disengage despite your best effort, or if a forced entry left the door structurally compromised, stop and call for help. Hallmark Garage Door Repair offers free estimates in Chula Vista: call (833) 467-4256 and we’ll send a technician who works on the door you have, not just the brand we prefer.
Frequently Asked Questions
Pull the red manual release cord hanging from the opener rail straight down to disengage the motor, then lift the door by hand. If the door is difficult to lift, the springs may be failing, and you should have them inspected. Call our team for a free estimate if you’re unsure.
Most homes in Chula Vista with automatic garage door openers have an external key cylinder connected by a cable to the opener’s release mechanism. Look for a keyhole on the door’s center stile, usually near the top panel. If you’ve never used it, test it now with the release key before you need it in an emergency.
A fully charged LiftMaster or Chamberlain battery backup typically delivers 20 to 30 open/close cycles, enough for two to three days of normal use. Battery age and door weight reduce that number, so test your backup every six months and replace aging batteries before fire season. Call (833) 467-4256 if your opener needs a battery replacement or upgrade.
No. Inspect the door first: check that it sits evenly in the opening, that both vertical tracks are flush against the wall, that the header bracket above the door hasn’t shifted, and that both springs look intact. Only run the opener after these checks pass, and stand clear during the first full cycle. If anything looks off, release the opener and operate manually or call a professional.
Disengage the opener and lower the door manually, then clamp vise grips or a padlock onto the vertical tracks just above a roller to physically block movement. Slide bolts and through-track padlocks add more resistance. These are temporary measures: schedule a proper inspection to check for hidden hinge and track damage. Hallmark Garage Door Repair provides free estimates for forced-entry repairs in Chula Vista.
Emergency garage door service in Chula Vista typically ranges from $95 to $250 for diagnosis and common repairs like release cable replacement or track realignment, while spring replacements run from $180 to $340 depending on the spring type and door size. Your exact price is quoted and agreed before any work starts. Call (833) 467-4256 for a free estimate in Chula Vista.
The Bottom Line
A garage door is the largest moving object in your home, and in an emergency, it’s either an exit or a barrier. Chula Vista’s specific risk profile, PSPS outages during fire season and seismic events along the Rose Canyon fault zone, means the manual release cord and the outside emergency release key are not optional knowledge. Test both twice a year. Inspect your door before operating it after any earthquake. If your opener lacks battery backup, consider the upgrade before you need it. And if anything in this guide fails your test, call (833) 467-4256. The Hallmark standard means we fix it right the first time, from opener to panel.
Written by the team at Hallmark Garage Door Repair, serving Chula Vista since 2016.
See the difference
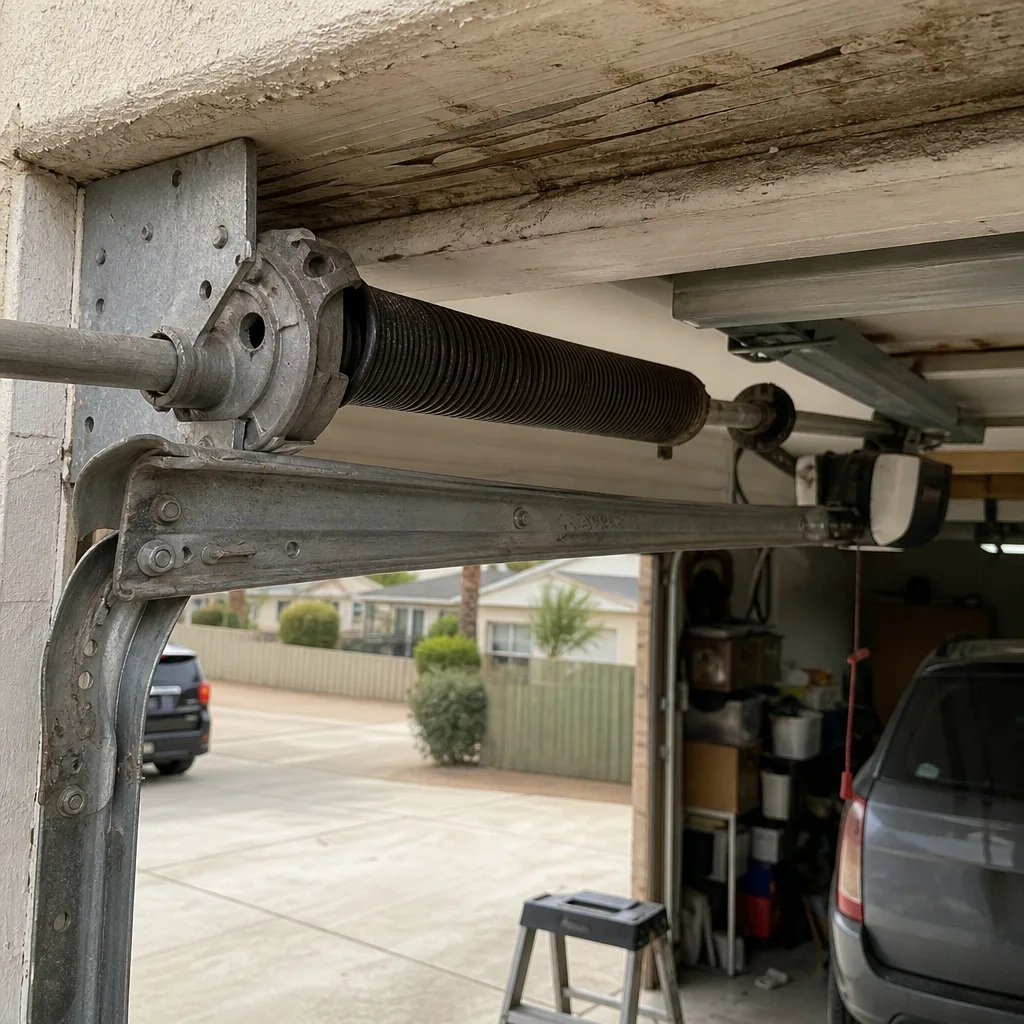 Before
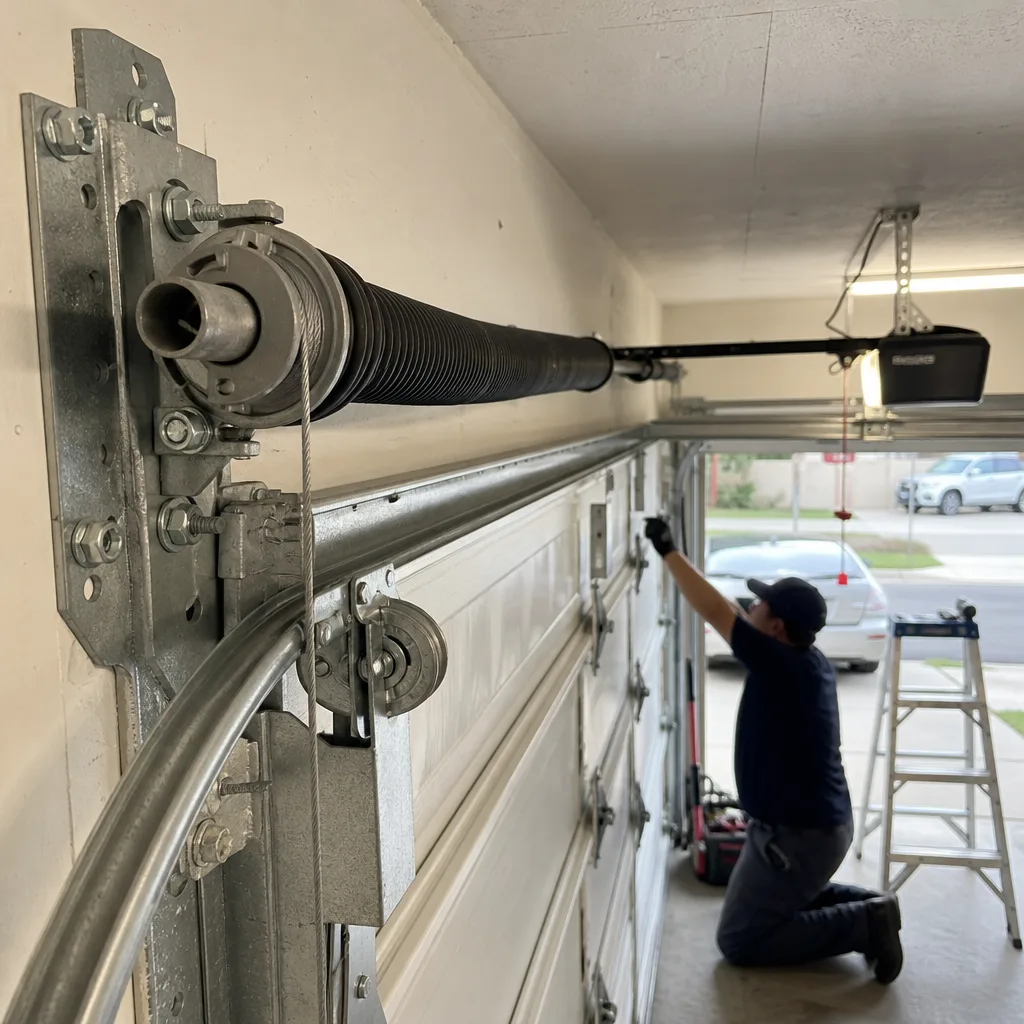 After
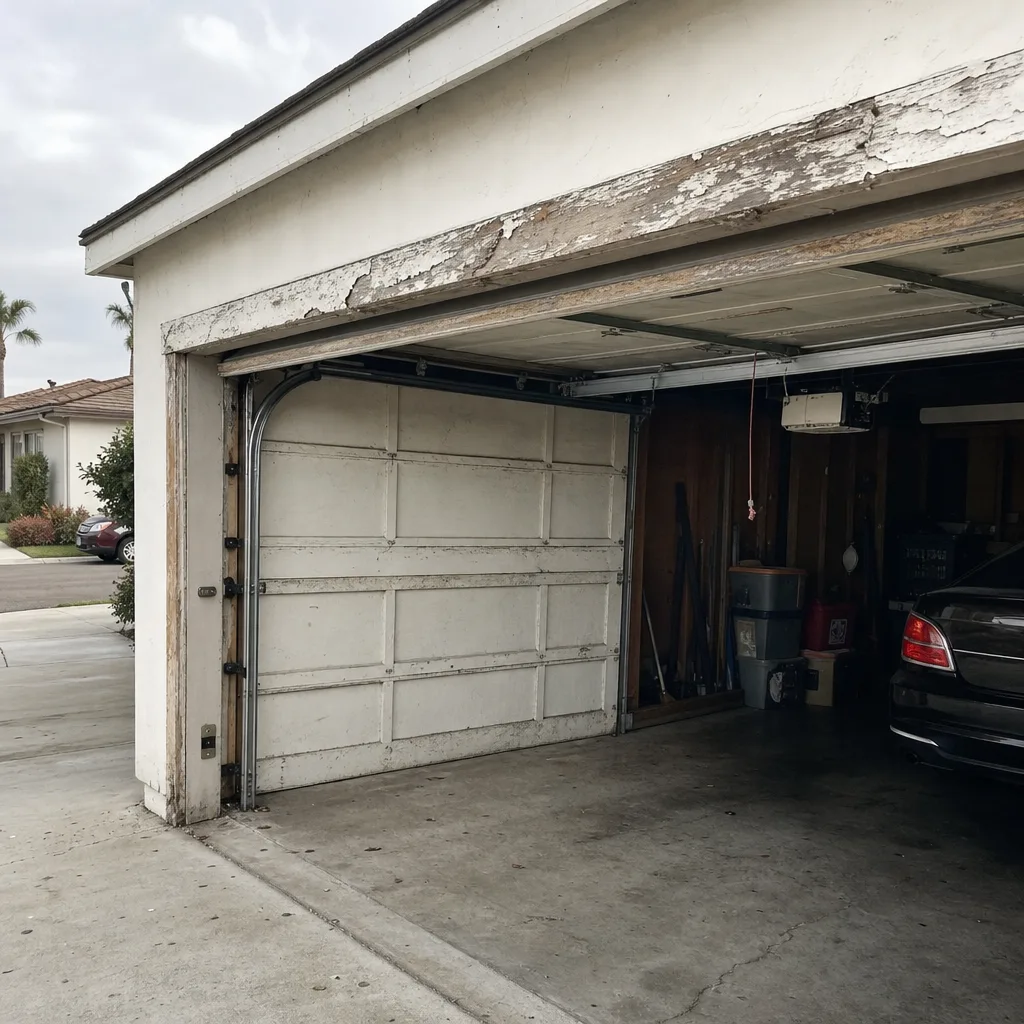 Before
 After
 Before
 After